Nissan Rogue (T33) 2021-Present Service Manual: Removal and Installation :: Rear Door Lock
Exploded View
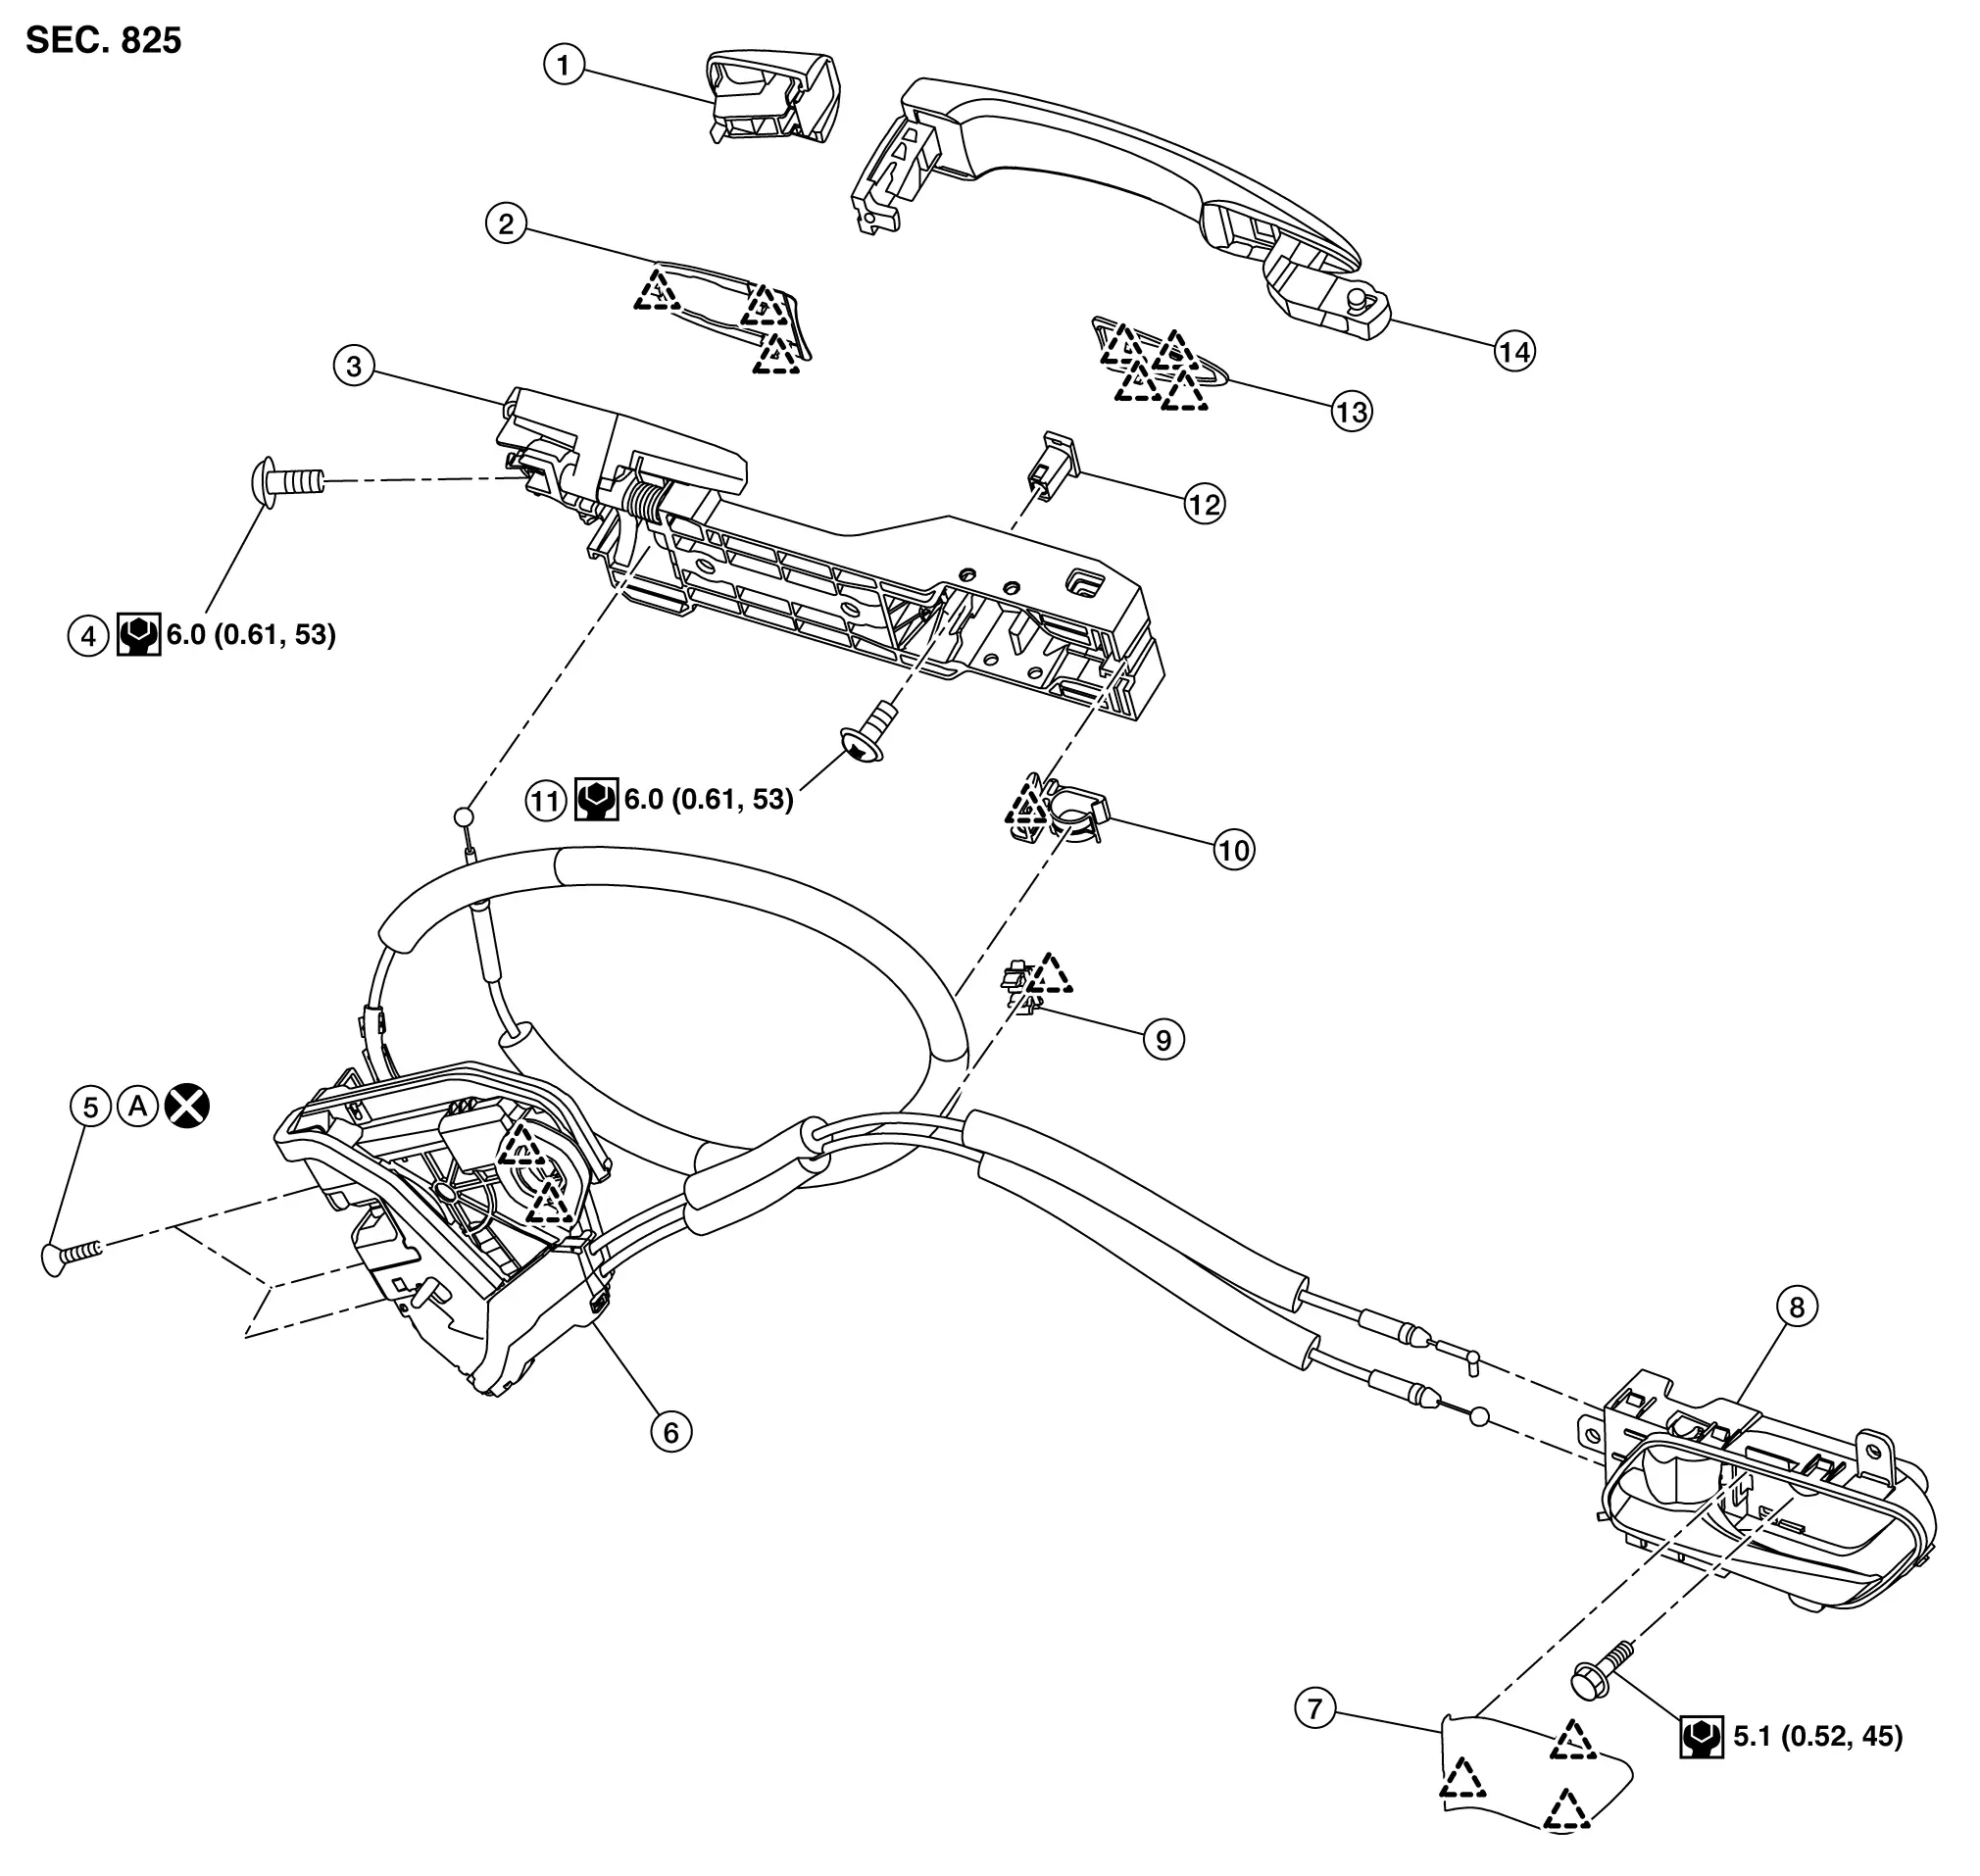
| 1. | Rear door outside handle escutcheon | 2. | Rear gasket | 3. | Rear door outside handle bracket |
| 4. | TORX bolt | 5. | TORX bolt | 6. | Rear door lock assembly |
| 7. | Rear door inside handle cap | 8. | Rear door inside handle | 9. | Rear door inside handle cable clip |
| 10. | Rear door outside handle cable clip | 11. | TORX bolt | 12. | Rear door outside handle bracket stopper |
| 13. | Front gasket | 14. | Rear door outside handle grip | A. | Comply with the installation procedure when tightening. Refer to Removal and Installation. |
 |
: Pawl | ||||
 |
: Always replace after every disassembly. | ||||
 |
: N·m (kg-m, in-lb) | ||||
Rear Door Lock
Removal and Installation
REMOVAL
Remove rear door outside handle bracket. Refer to Removal and Installation.
Remove rear door corner piece. Refer to Removal and Installation.
Disconnect rear door inside handle cable from rear door inside handle cable clip.
Remove rear door lock assembly mounting TORX bolts.
Disengage rear door lock assembly fixing pawls, and then remove rear door lock assembly.
INSTALLATION
Note the following items, and then install in the reverse order of removal.
CAUTION:
-
Never reuse rear door lock assembly mounting TORX bolt. Always replace it with a new one when it is removed.
-
When installing, tighten mounting TORX bolts to specification according to numerical order 1→3 as shown in figure.
USA production models : 8 N·m (0.82 kg-m, 71 in-lb) Japan production models : 5.8 N·m (0.59 kg-m, 51 in-lb) -
After installation, check rear door lock. Refer to Inspection.
Inspection
After opening and closing the door, check that door is fixed to the vehicle body normally.
Check the lock/unlock operation of door lock.
Rear Inside Handle
REAR DOOR INSIDE HANDLE : Removal & Installation
REMOVAL
Remove rear door finisher. Refer to Removal and Installation.
Disengage rear door inside handle fixing pawls, and then remove rear door inside handle.
INSTALLATION
Note the following items, and then install in the reverse order of removal.
CAUTION:
-
When connecting rear door inside handle cable and rear door lock knob cable to rear door inside handle, check that rear door inside handle cable and rear door lock knob cable are properly engaged with rear door inside handle.
-
After installation, check rear door lock. Refer to Inspection.
Rear Outside Handle
Removal and Installation
REMOVAL
Fully close rear door glass.
Remove rear door finisher. Refer to Removal and Installation.
Disconnect rear door outside handle harness connector  , and then disengage rear door outside handle harness fixing clip
  (if equipped).
| : Nissan Ariya Vehicle front |
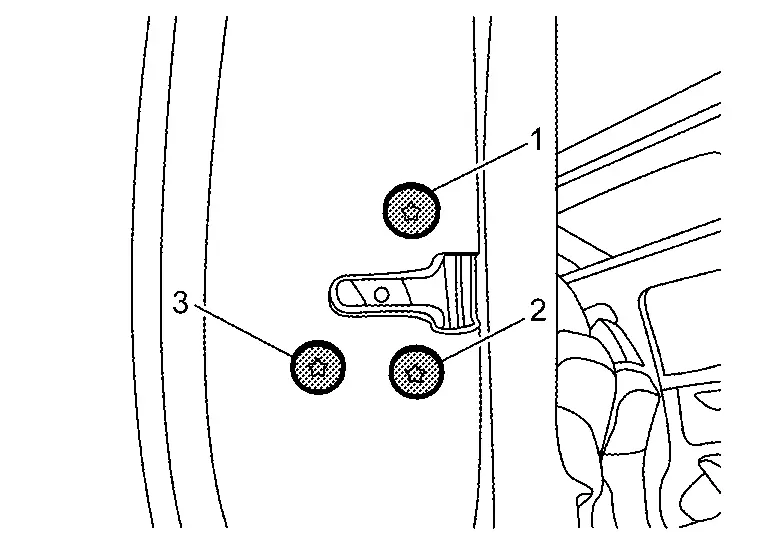
Remove door side grommet  , and then loosen TORX bolt
  from grommet hole.
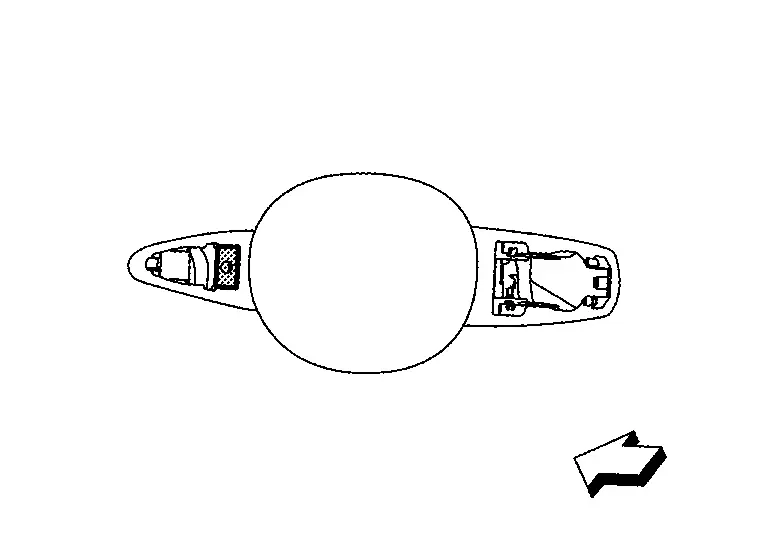
Remove rear door outside handle escutcheon from rear door panel.
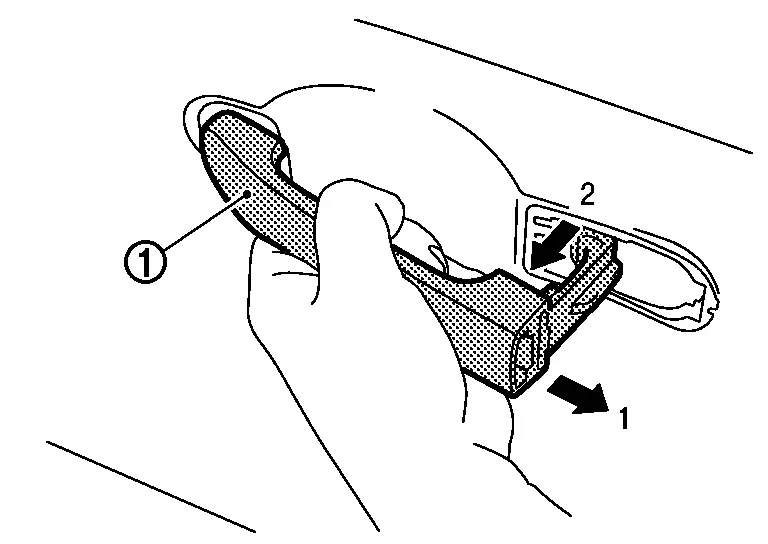
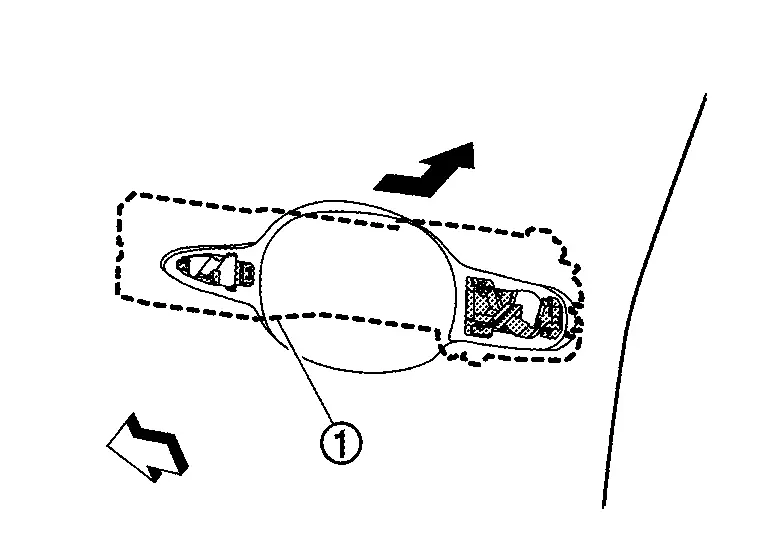
Slide rear door outside handle grip toward rear of Nissan Ariya vehicle and remove it according to the numerical order 1→2 indicated by arrows as shown in figure.
Disengage front gasket and rear gasket fixing pawls, and then remove front gasket and rear gasket.
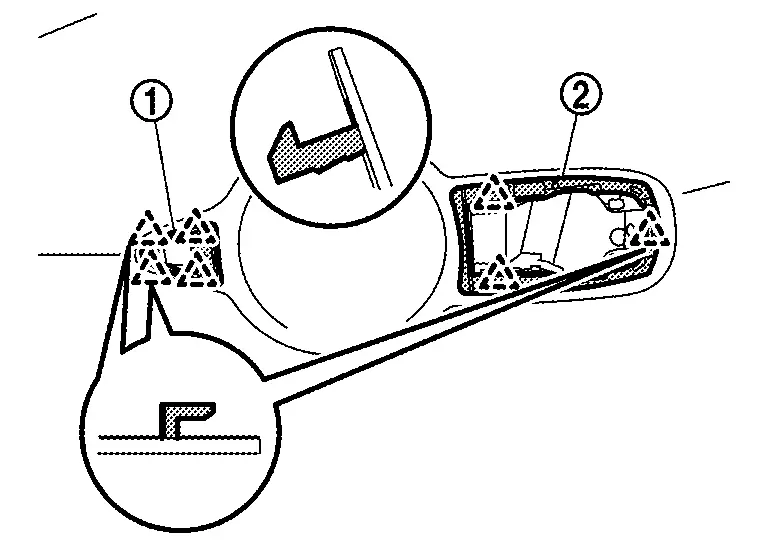
|
: Pawl |
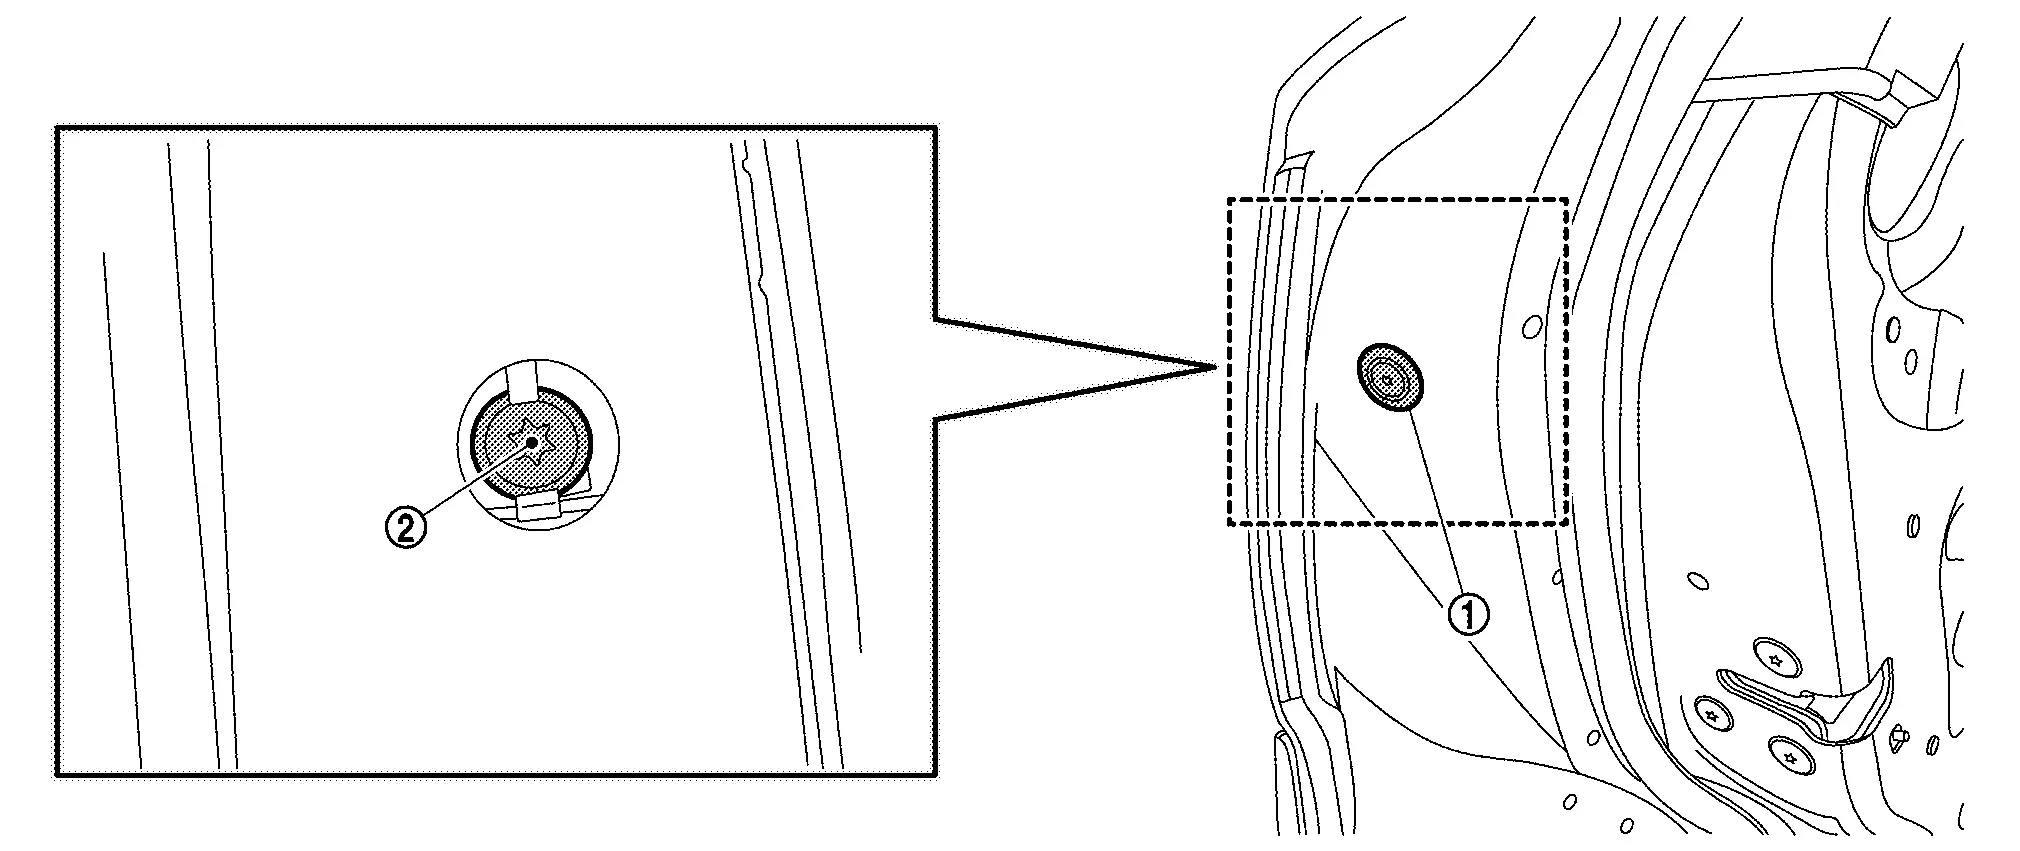
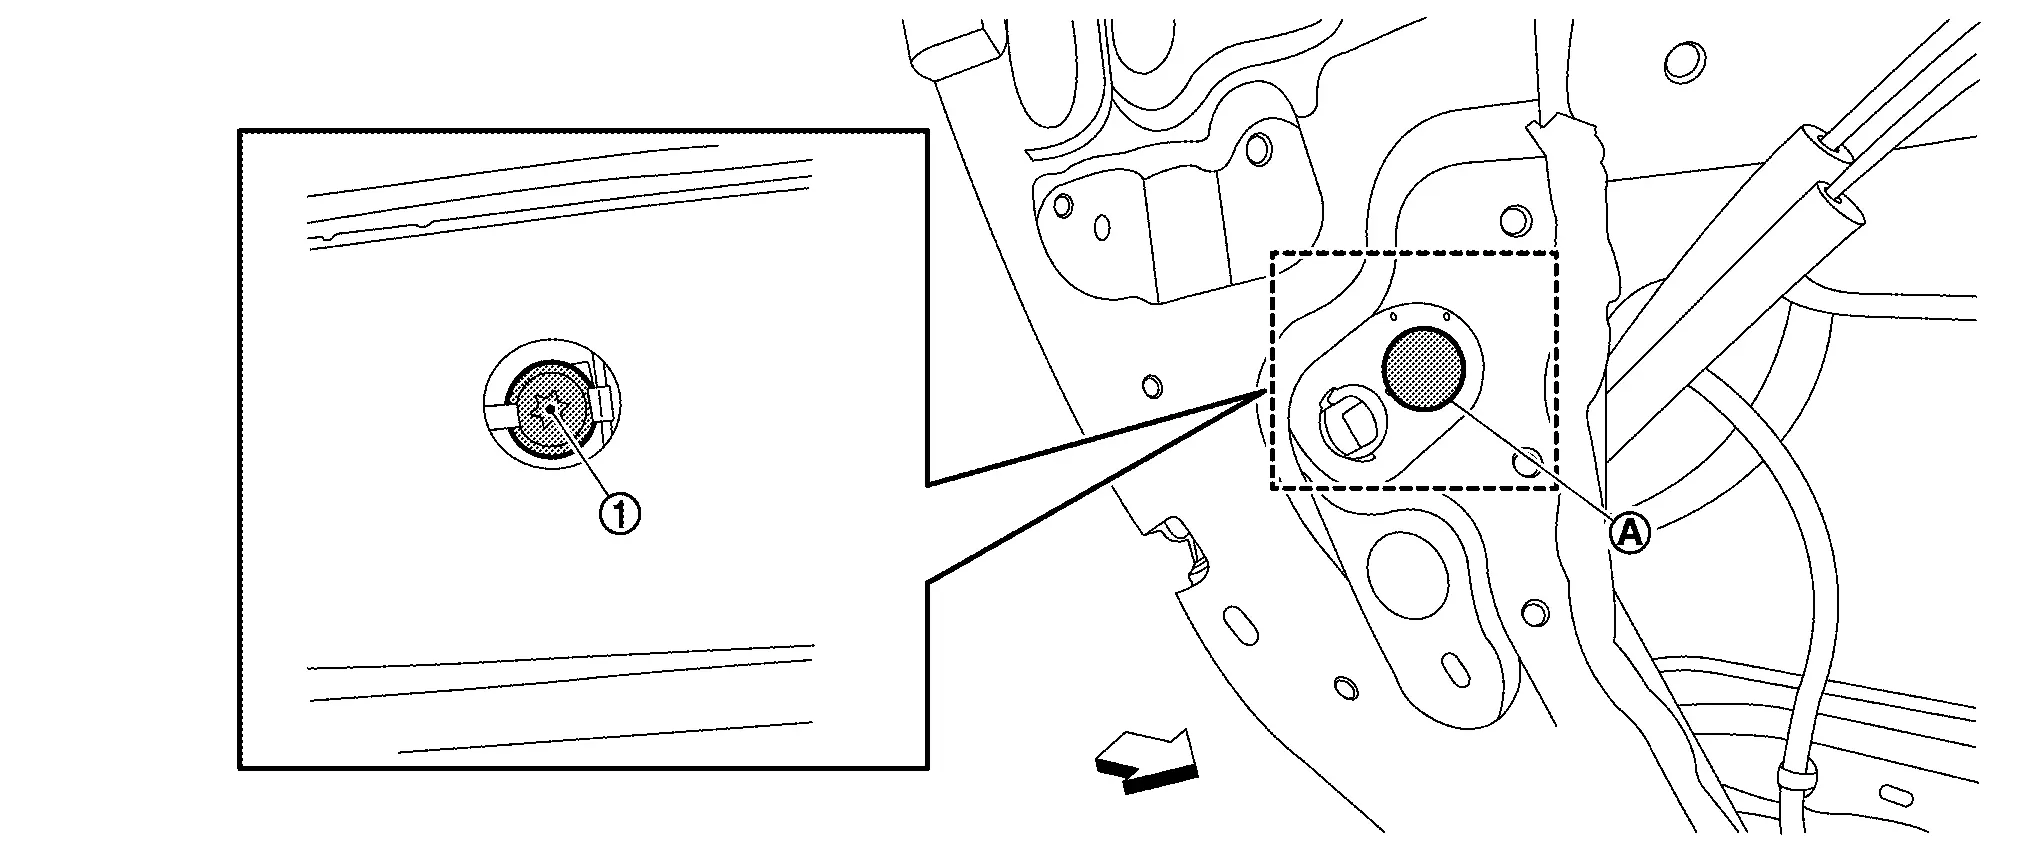
Remove hole seal , and then loosen TORX bolt from hole seal hole.
| : Nissan Ariya Vehicle front |
Remove rear door outside handle bracket stopper.
| : Nissan Ariya Vehicle front |
Slide rear door outside handle bracket toward rear of Nissan Ariya vehicle and remove it.
| : Nissan Ariya Vehicle front |
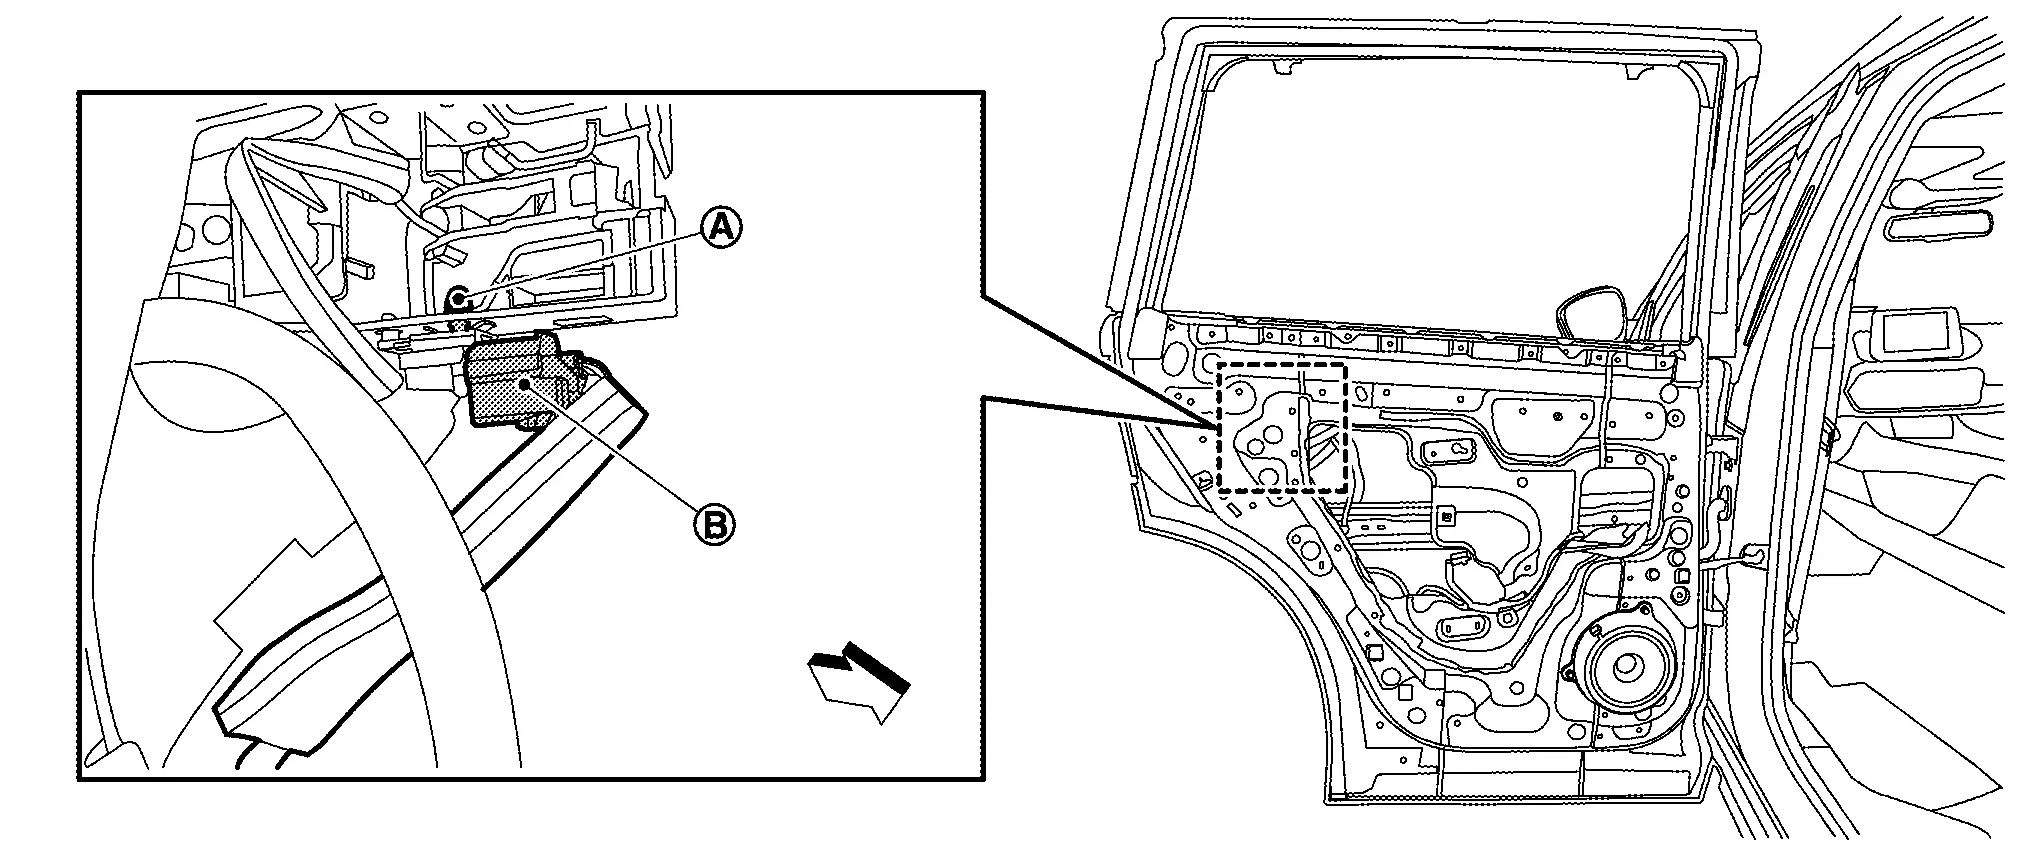
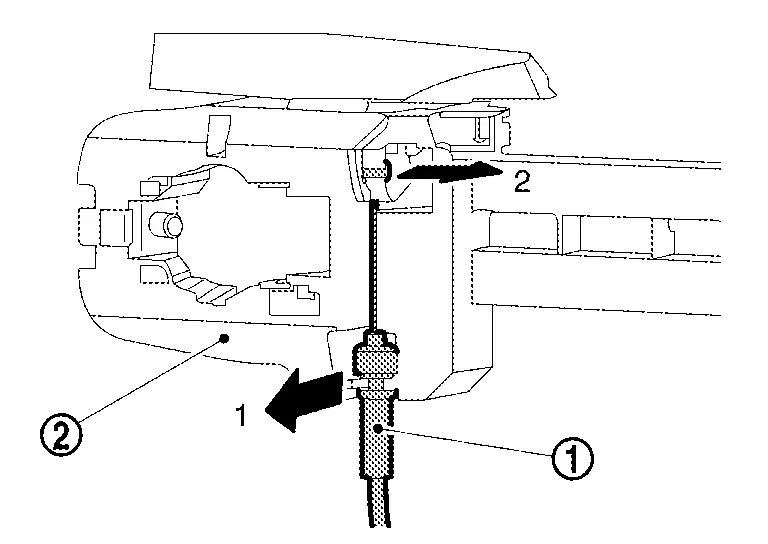
Disengage rear door outside handle cable from rear door outside handle cable clip.
Disconnect rear door outside handle cable from rear door outside handle bracket according to the numerical order 1→2 indicated by arrows as shown in figure.
INSTALLATION
Note the following items, and then install in the reverse order of removal.
CAUTION:
-
When connecting rear door outside handle cable to rear door outside handle bracket, check that rear door outside handle cable is properly engaged with rear door outside handle bracket.
-
When installing rear door outside handle bracket, be careful that rear door outside handle cable is routed normally.
-
After installation, check rear door lock. Refer to Inspection.
Other materials:
Diagnosis System (adas Control Unit 2)
Without Propilot Assist 2.1
Diagnosis Description
APPLICATION ITEMSCONSULT performs the following functions via CAN communication using ADAS control unit 2. Diagnosis mode CGW Status Description
Restricted Mode Diag Test Mode Open Mode
Self Diagnostic Result
Display
Display
Di ...
Removal and Installation. Front Door Finisher
Exploded View
Driver side
Front door panel
Inside seal
Front door finisher
Pull handle cap
Inside handle cap
Inside handle finisher
Inside handle
Grommet
Power window switch finisher
Door corner cover
: Clip ...
Removal and Installation. Rear Door Glass
Exploded View
Rear door panel
Rear door corner piece
Rear door corner cover rear
Rear door glass run
Rear door glass
Rear door regulator assembly
Rear door sealing screen
Rear door corner cover front
Rear door regulator
Rear door power window mo ...