
Nissan Rogue (T33) 2021-Present Service Manual: Differential Side Oil Seal
Exploded View
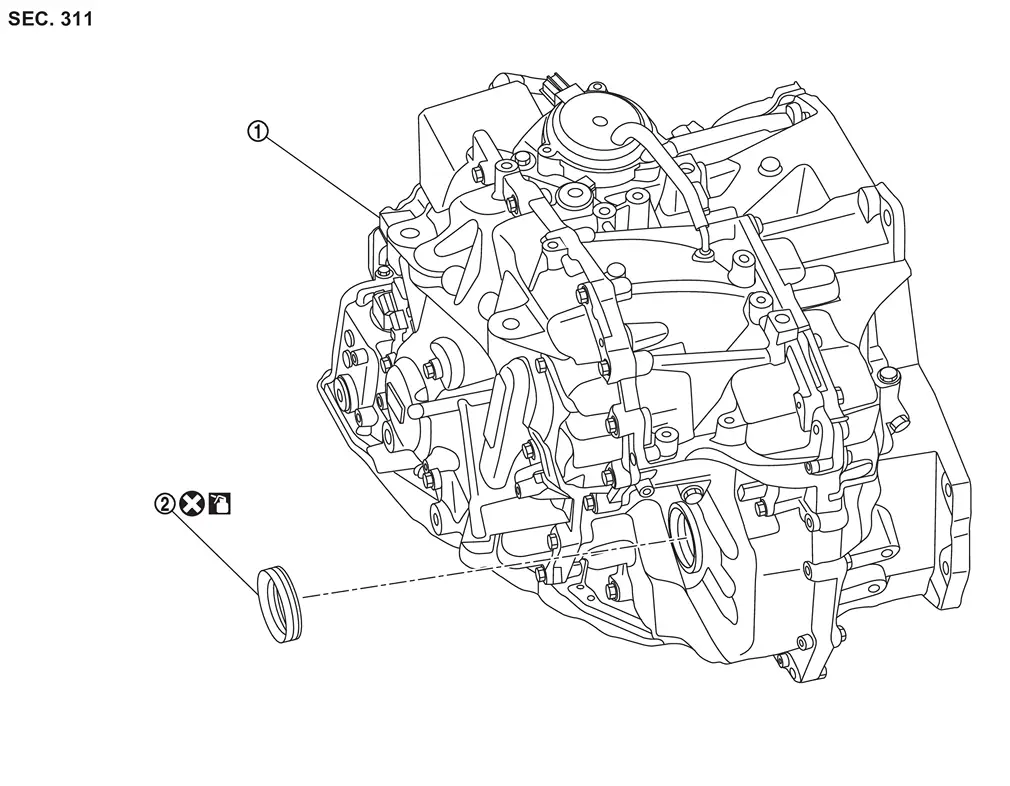
| 1. | Transaxle assembly | 2. | Differential side oil seal (left side) | 3. | Differential side oil seal (right side) |
 : Always replace after every disassembly.
 : Apply CVT fluid.
| 1. | Transaxle assembly | 2. | Differential side oil seal (left side) |
: Always replace after every disassembly.
: Apply CVT fluid.
Removal and Installation
REMOVAL
| Never Reuse These Parts | Part Code | For additional information: |
|---|---|---|
| Seal-O-ring, differential transmission case | 38342Q | Exploded View |
| Seal-O-ring, differential converter housing | 38342P | Exploded View |
Remove front drive shaft. Refer to Removal and Installation (2WD) or Removal and Installation (AWD).
Using a suitable tool remove the differential side oil seal.
CAUTION:
When removing the differential side oil seal, be careful not to scratch the oil seal mounting surfaces of the transaxle case and converter housing.
INSTALLATION
Note the following and install in the reverse order of removal.
CAUTION:
-
Never reuse differential side oil seal.
-
Apply CVT fluid to differential side oil seal.
-
When inserting the drive shaft, be sure to use protector on differential side oil seal. Refer to Removal and Installation(2WD) or Removal and Installation(AWD).
-
Install each differential side oil seal evenly using following Tools.
Tools to be used:
Location Special Service Tools Transaxle case side -
Output seal installer (case side) [SST: KV31500800(NI-52283)]
-
Universal driver handle [SST: ST35325000 (NI-8092)]
Converter housing side -
Output seal installer (torque converter side) [SST: KV31500900 (NI-52284)]
-
Universal driver handle [SST: ST35325000 (NI-8092)]
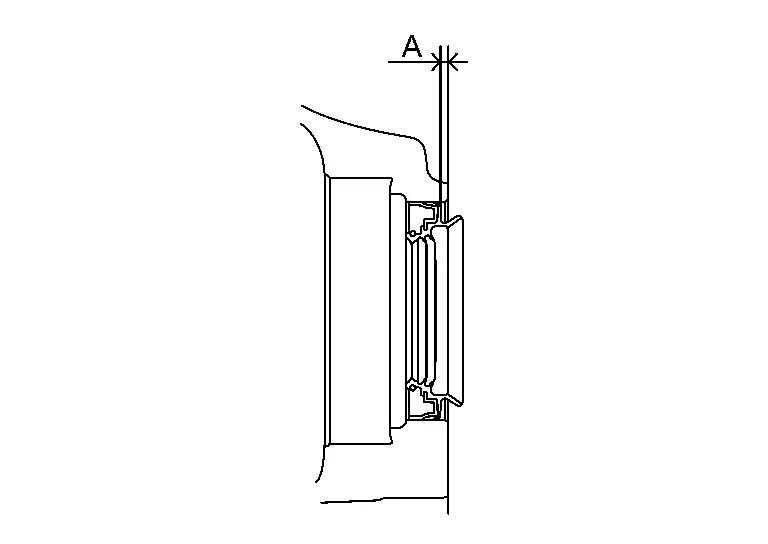
Install differential oil seal to the converter housing with seal installer (SST:NI-52283) until it is flush. Height or depth of differential oil seal from the surface (A):0±0.5mm (0 ± 0.020 mm)
-
Inspection and Adjustment
Check for CVT fluid leakage. Refer to Inspection.
Adjust CVT fluid level. Refer to Adjustment.
Other materials:
Removal and Installation. Front Door Lock
Exploded View
1.
Front door outside handle escutcheon
2.
Rear gasket
3.
Front door outside handle bracket
4.
TORX bolt
5.
Key rod
(If equipped)
6.
Key rod holder
(If equipped)
7.
TORX bolt
8.
Front door lock assembly
9.
Front door outside ...
Front Drive Shaft Boot (kr15ddt)
Exploded View
LEFT SIDE 1.
Circular clip
2.
Dust shield
3.
Housing
4.
Snap ring
5.
Spider assembly
6.
Stopper ring
7.
Boot band
8.
Boot
9.
Shaft
10.
Damper band
11.
Dynamic damper
12.
Circular clip
13.
Joint sub-asse ...
Symptom Diagnosis. Back Door Does Not Open
With Automatic Back Door
Description
Back door does not opened using back door opener switch.
Diagnosis Procedure
CHECK DTC WITH AUTOMATIC BACK DOOR CONTROL UNIT
Check that DTC is not detected with automatic back door control unit.
Is the inspection result normal?
YES>>
GO TO 2.
NO&g ...