Nissan Rogue (T33) 2021-Present Service Manual: Removal and Installation :: Fillet Molding
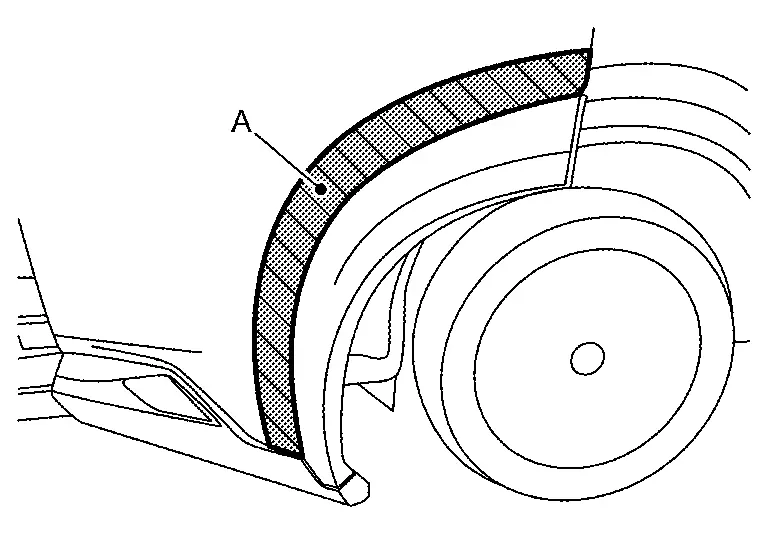
Exploded View
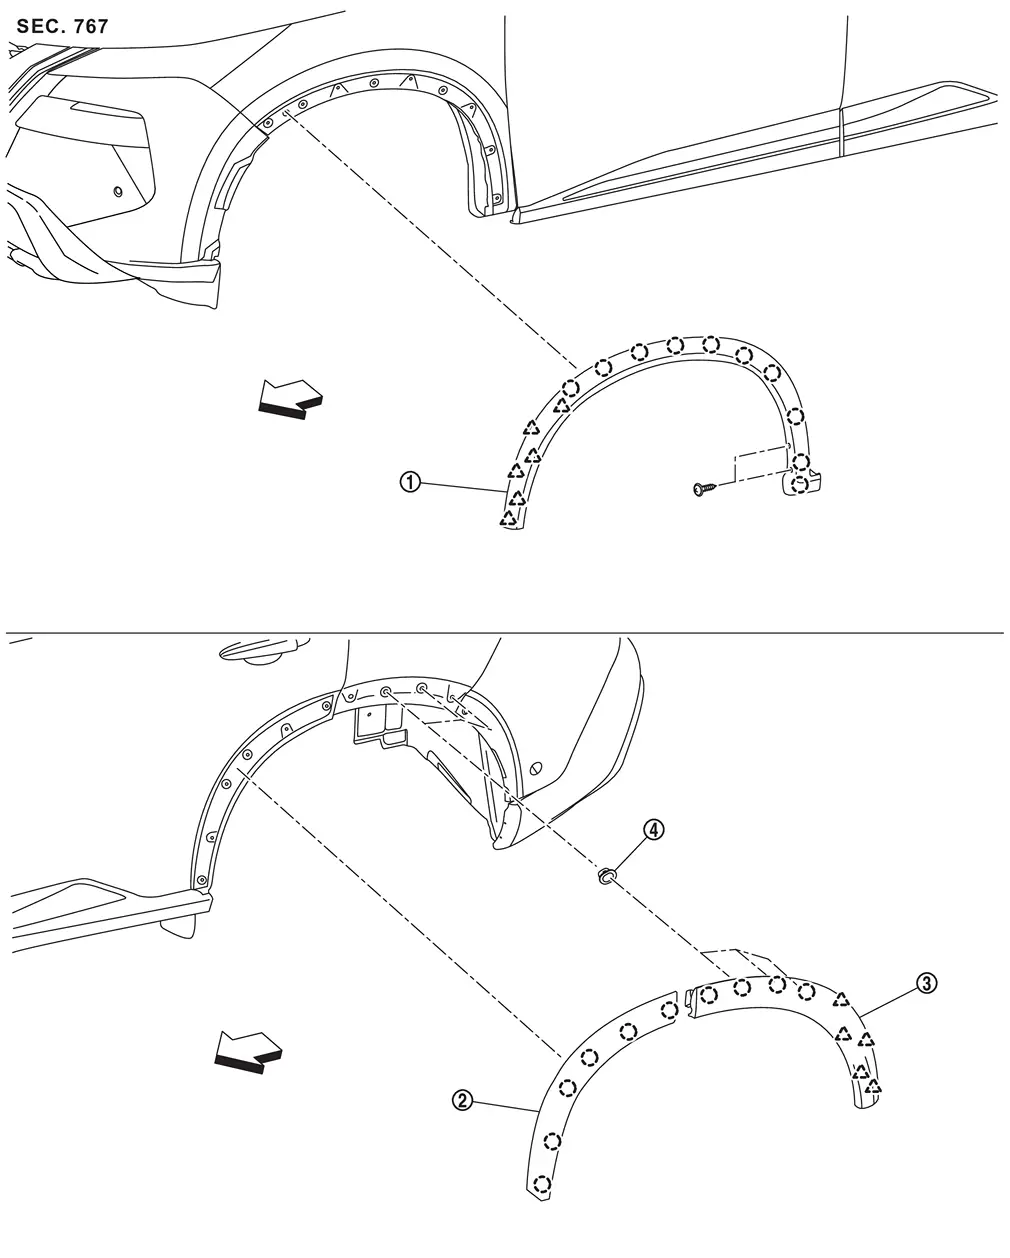
| 1. | Front fillet molding | 2. | Rear fillet molding front | 3. | Rear fillet molding rear |
| 4. | Grommet | — | — | — | — |
 |
: Clip | ||||
 |
: Pawl | ||||
| : Nissan Ariya Vehicle front | |||||
Front Fillet Molding
Removal and Installation
REMOVAL
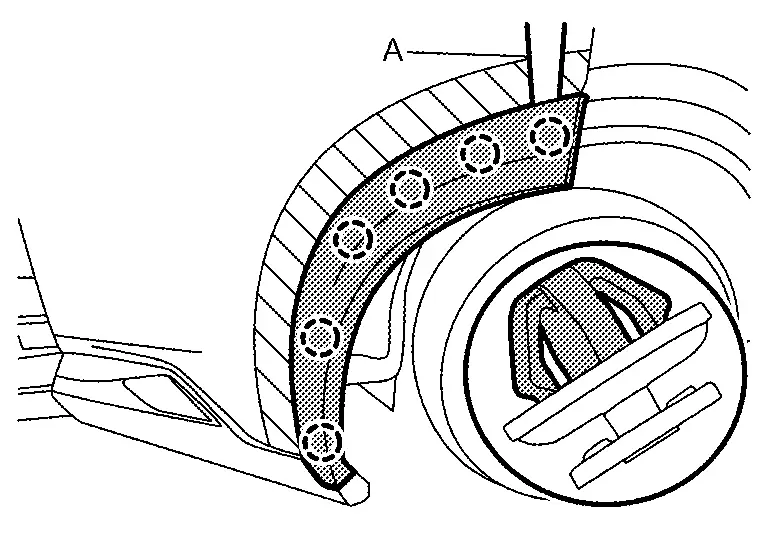
Remove front fillet molding fixing screws  .
.
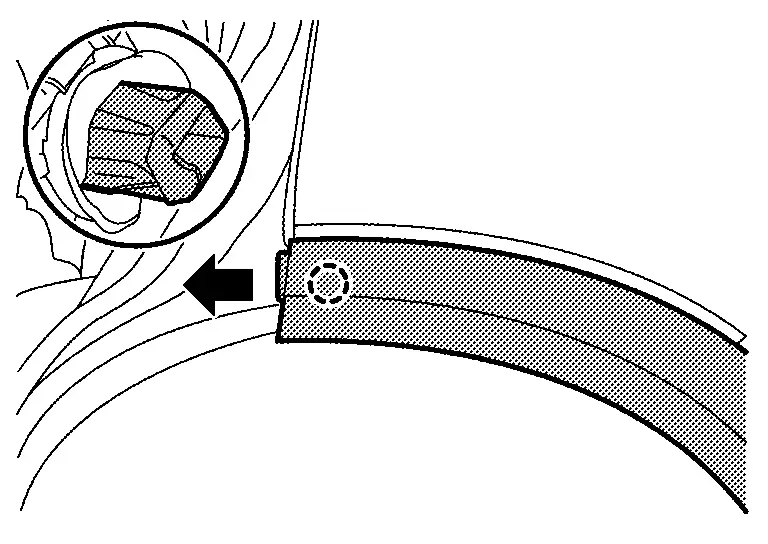
Disengage front fillet molding fixing pawls using a remover tool (A) as shown by the arrow in the figure.
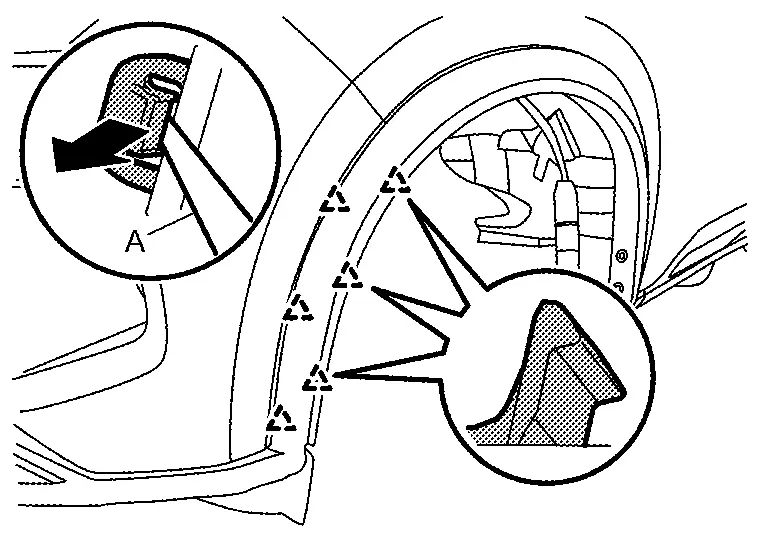
|
: Pawl |
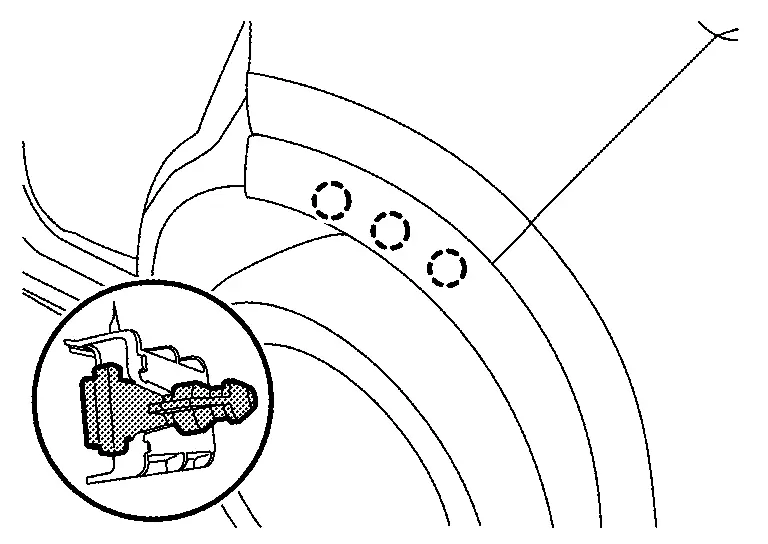
Remove front fillet molding fixing clips.
|
: Clip |
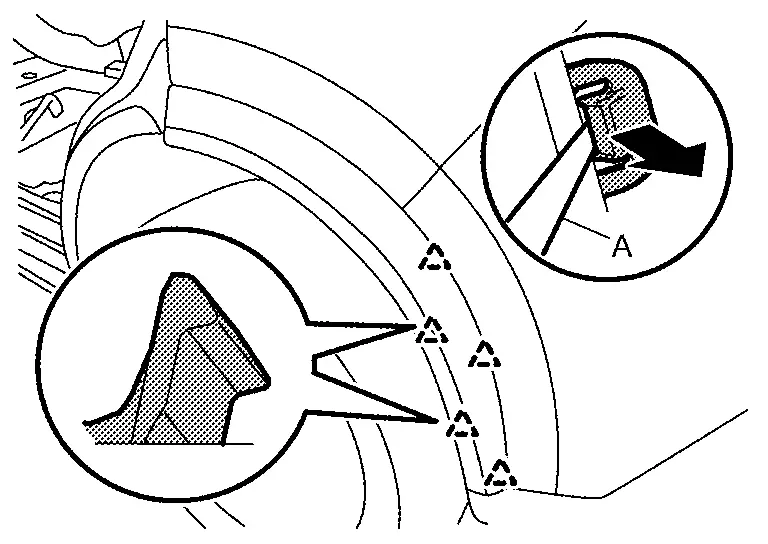
Remove front fillet molding fixing clip using a remover tool (A), and then remove front fillet molding.

|
: Clip |
INSTALLATION
Installation is in the reverse order of removal.
CAUTION:
-
When installing front fillet molding, visually check the clips and pawls, then replace them with new parts if they are damaged.
-
When installing front fillet molding, check that clips and pawls are securely fitted in fender panel holes, and then press them in.
Rear Fillet Molding Front
Removal and Installation
REMOVAL
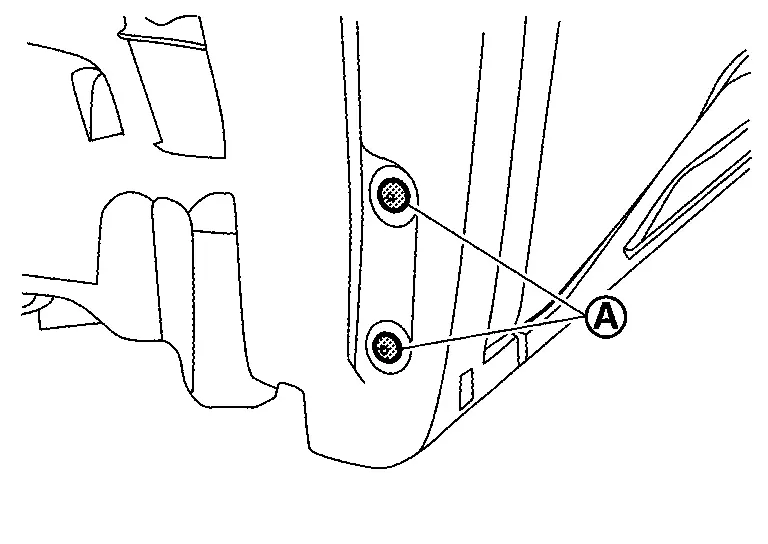
Fully open rear door panel.
Apply protective tape (A) on the part to protect it from damage.
Disengage rear fillet molding front fixing clips using a remover tool (A), and then remove rear fillet molding front.
|
: Clip |
INSTALLATION
Installation is in the reverse order of removal.
CAUTION:
-
When installing rear fillet molding front, visually check the clips, then replace them with new parts if they are damaged.
-
When installing rear fillet molding front, check that clips are securely fitted in rear door panel holes, and then press them in.
Rear Fillet Molding Rear
Removal and Installation
REMOVAL
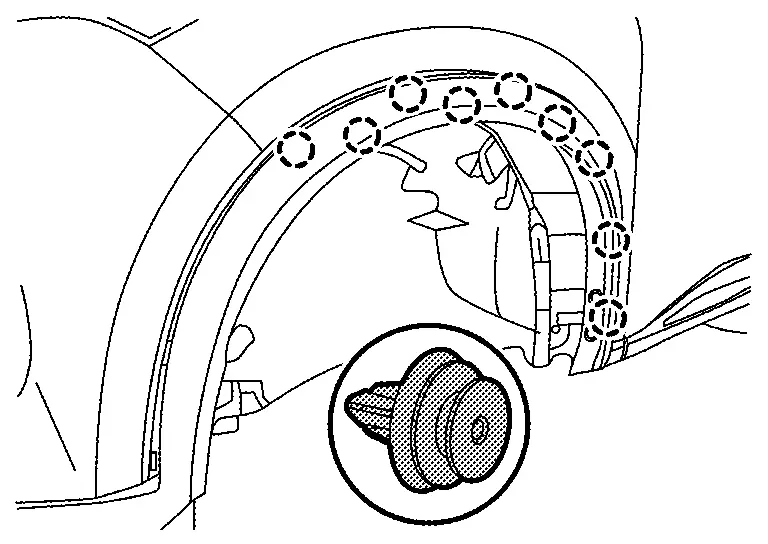
Disengage rear fillet molding rear fixing pawls using a remover tool (A) as shown by the arrow in the figure.
|
: Pawl |
Remove rear fillet molding rear fixing clips.
|
: Clip |
Sliding rear fillet molding rear fixing clip as shown by the arrow in the figure, and then remove rear fillet molding rear.
|
: Clip |
INSTALLATION
Installation is in the reverse order of removal.
CAUTION:
-
When installing rear fillet molding rear, visually check the clips and pawls, then replace them with new parts if they are damaged.
-
When installing rear fillet molding rear, check that clips and pawls are securely fitted in body side outer panel holes, and then press them in.
Other materials:
Sheet Metal Work
Sheet Metal Work Tools
Sheet Metal Work Tools
This section explains various tools used in body repair work.
Hammers
A hammer is used to correct dents, projections or other deformations.
Various shapes have been designed according to their purposes.(1) TYPES AND FEATURES OF HAMMERS(2) SELECTI ...
Type a. Preparation. Preparation
Preparation
Commercial Service Tools
Tool name Description
Variable resistor
Check fuel gauge indication position
Power tool
Loosening screws
...
Removal and Installation. Emblem
Exploded view
1.
Emblem A
2.
Emblem B
3.
Emblem C (if equipped)
4.
Emblem D (if equipped)
Removal and Installation
REMOVALRemove emblem from the panel while warming using an industrial dryerCAUTION:
Remove the panel so as not to damage ...