Nissan Rogue (T33) 2021-Present Service Manual: Removal and Installation :: Back Door Trim
Exploded View
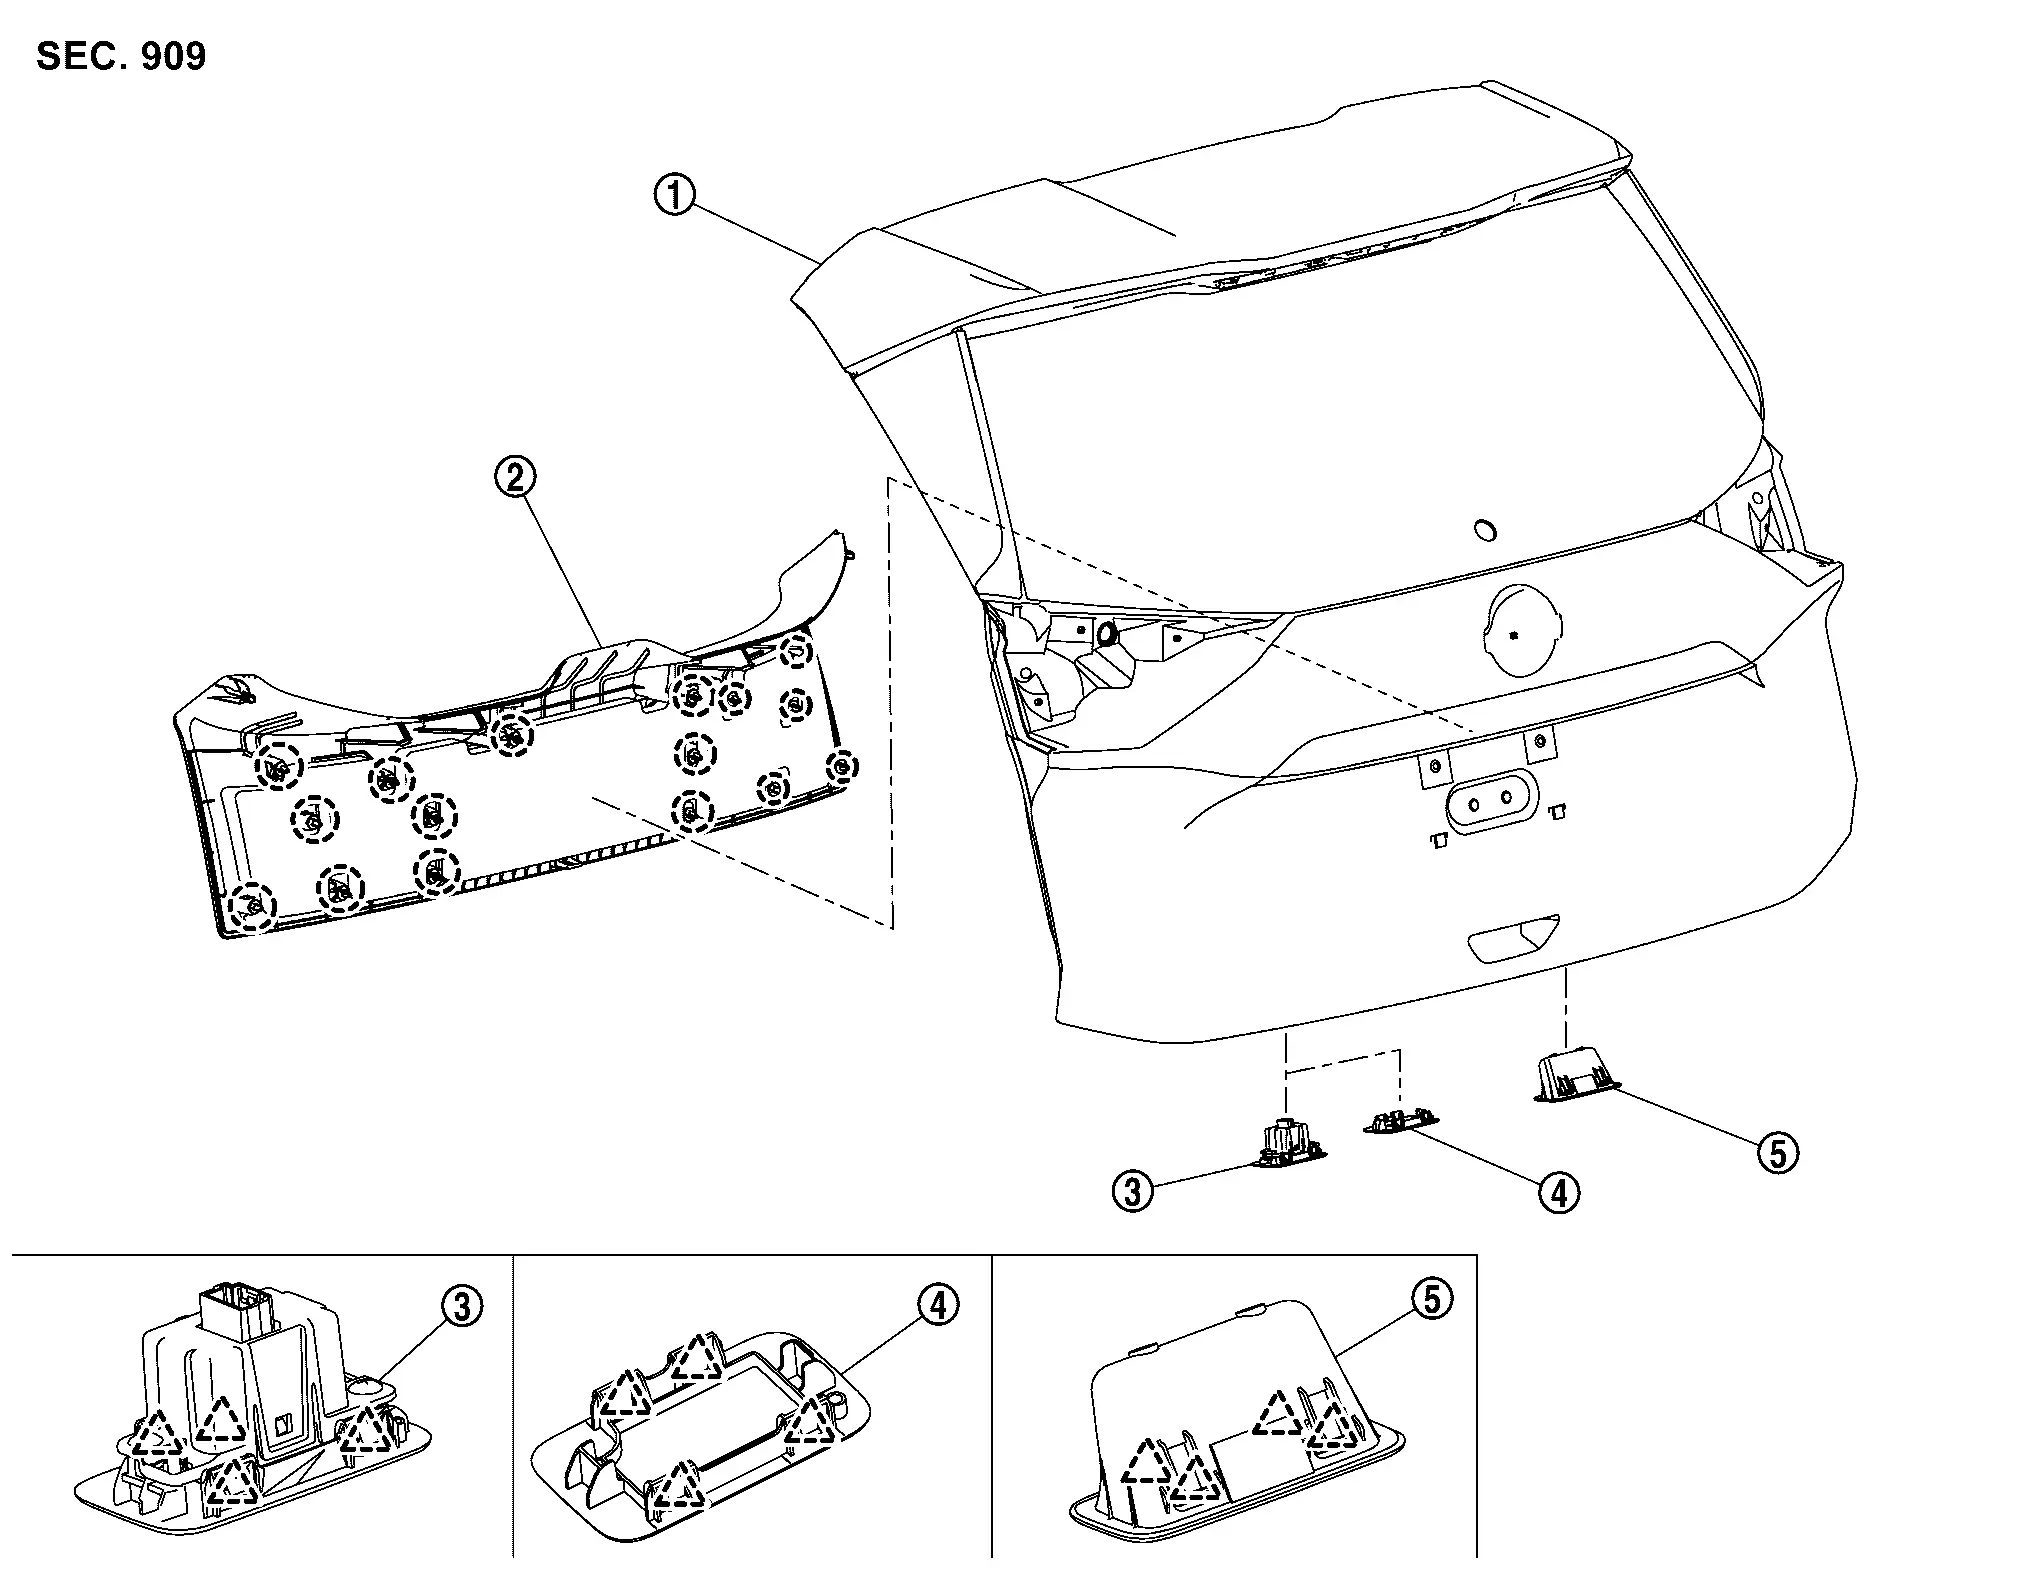
 |
Back door panel |  |
Back door inner finisher |  |
Automatic back door switch finisher (with automatic back door) |
 |
Back door finisher cap (without automatic back door) |  |
Back door pull handle | ||
 |
: Clip | ||||
 |
: Pawl | ||||
Back Door Inner Finisher
Removal and Installation
CAUTION:
Never damage the back door panel.
REMOVAL
Fully open back door.
Apply protective tapes (A) on the back door panel to protect it from damage.
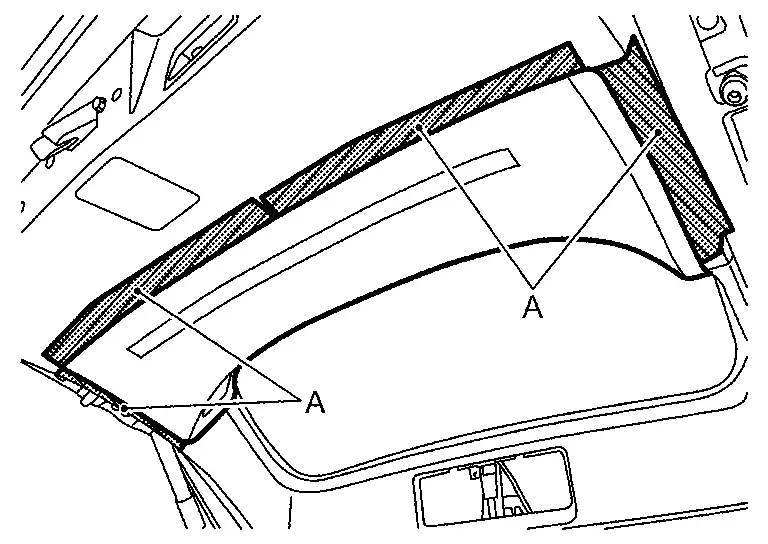
Disengage back door inner finisher fixing clips using a remover tool (A), and then back door inner finisher.
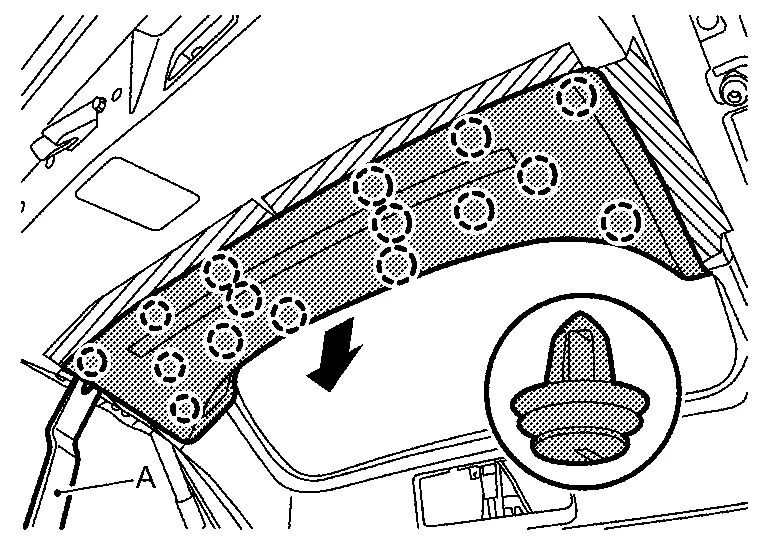
|
: Clip |
INSTALLATION
Note the following items, and then install in the reverse order of removal.
CAUTION:
-
Visually check clips for deformation and damage during installation. Replace with new ones if necessary.
-
Check in advance that clips are accurately aligned with the portions on back door panel, and then install by pressing in.
Automatic Back Door Switch Finisher
Removal and Installation
CAUTION:
Never damage the back door panel.
REMOVAL
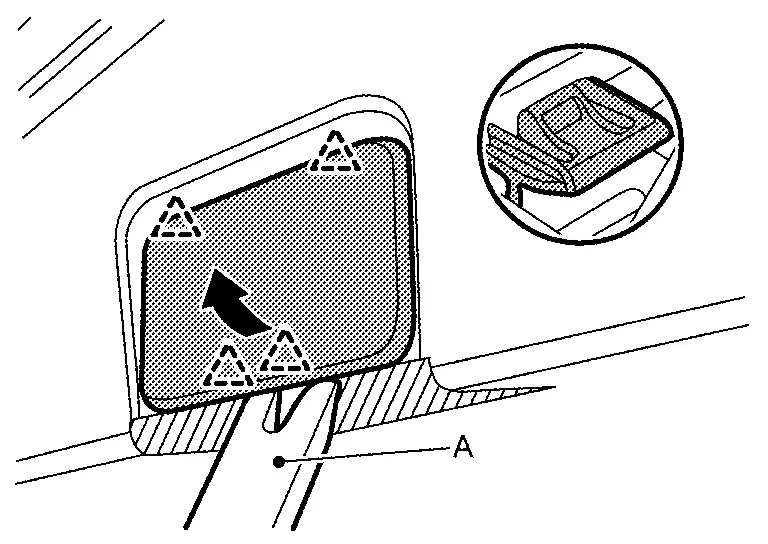
Fully open back door.
Apply protective tape (A) on the back door panel to protect it from damage.
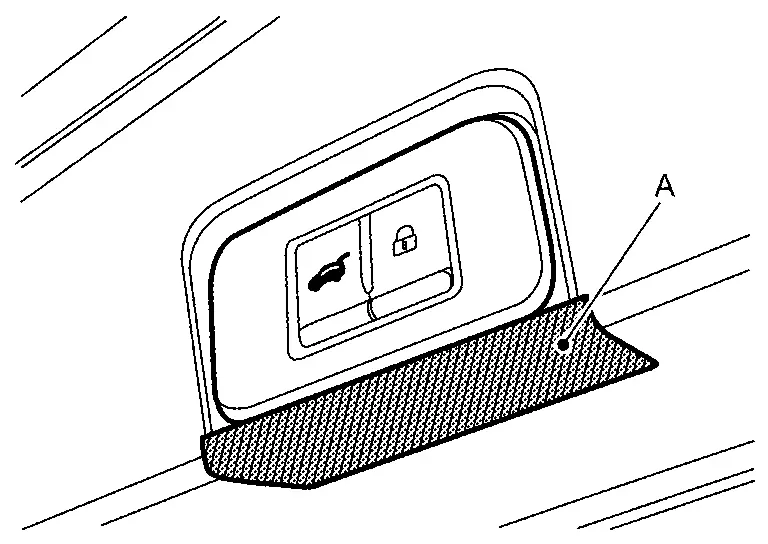
Disengage automatic back door switch finisher fixing pawls using a remover tool (A).
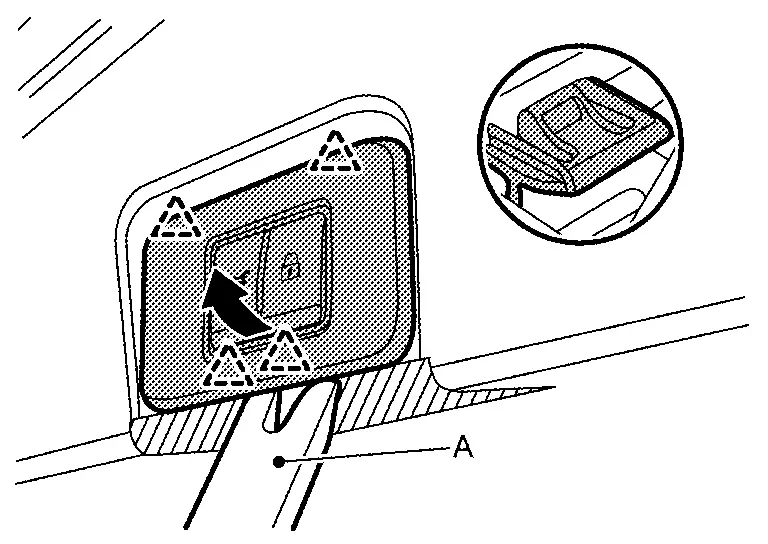
|
: Pawl |
Disconnect harness connector, and then remove automatic back door switch finisher.
INSTALLATION
Note the following item, and then install in the reverse order of removal.
CAUTION:
Check in advance that pawls are accurately aligned with the portions on back door panel, and then install by pressing in.
Back Door Finisher Cap
Removal and Installation
CAUTION:
Never damage the back door panel.
REMOVAL
Fully open back door.
Apply protective tape (A) on the back door panel to protect it from damage.
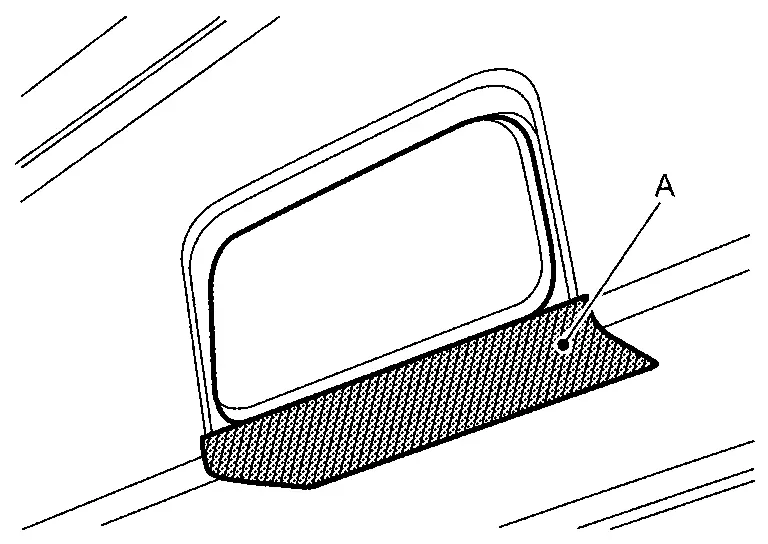
Disengage back door finisher cap fixing pawls using a remover tool (A), and then remove back door finisher cap.
|
: Pawl |
INSTALLATION
Note the following item, and then install in the reverse order of removal.
CAUTION:
Check in advance that pawls are accurately aligned with the portions on back door panel, and then install by pressing in.
Back Door Pull Handle
Removal and Installation
CAUTION:
Never damage the back door panel.
REMOVAL
Fully open back door.
Apply protective tape (A) on the back door panel to protect it from damage.

Disengage back door pull handle fixing pawls using a remover tool (A) according to numerical order 1→2 indicated by arrows as shown in the figure, and then remove back door pull handle.

|
: Pawl |
INSTALLATION
Note the following item, and then install in the reverse order of removal.
CAUTION:
Check in advance that pawls are accurately aligned with the portions on back door panel, and then install by pressing in.
Other materials:
C1f05-54 Front Camera Unit
DTC Description
DTC DETECTION LOGIC DTC
CONSULT screen terms
(Trouble diagnosis content) DTC detection condition
C1F05
54
Front camera unit
(Front camera unit)
Diagnosis condition
When AEB system is ON
When driving the Nissan Ariya vehicle
Signal (te ...
Power Supply and Ground Circuit
Diagnosis Procedure
CHECK ABS ACTUATOR AND ELECTRIC UNIT (CONTROL UNIT) IGNITION POWER SUPPLY
Disconnect 12V battery negative terminal.
Disconnect ABS actuator and electric unit (control unit) harness connector.
Connect 12V battery negative terminal.
Check the voltage between AB ...
Service Data and Specifications (sds)
Road Wheel
ALUMINUM WHEEL Item Limit
Runout
Axial runout
Less than 0.3 mm (0.012 in)
Radial runout
Allowable unbalance
Dynamic (At flange)
Less than 5 g (0.17 oz) (one side)
Static (At flange)
Less than 10 g (0.35 oz)
STEEL WHEEL (EMERGENCY) Item Limit
Runo ...