
Nissan Rogue (T33) 2021-Present Service Manual: Preparation
Special Service Tool
The actual shapes of TechMate tools may differ from those of special service tools illustrated here.
|
Tool number (TechMate No.) Tool name | Description | |
|---|---|---|
|
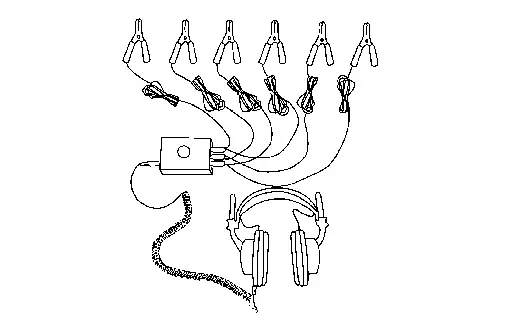
(NI-39570) Chassis ear |
|
Locates the noise |
|
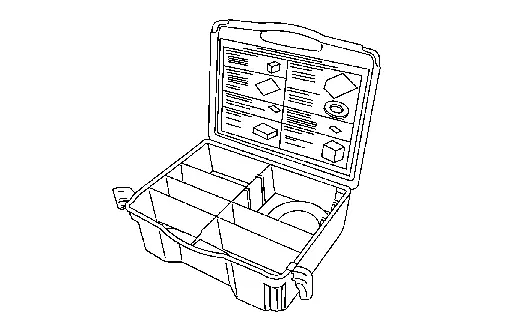
(NI-50397) NISSAN Squeak and Rattle Kit |
|
Repairs the cause of noise |
Commercial Service Tools
| Tool name | Description | |
|---|---|---|
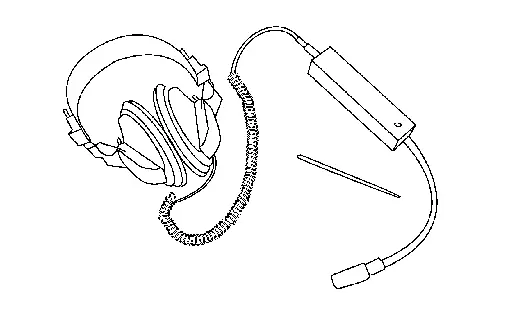
| Engine ear |
|
Locates the noise |
| Suction lifter |
|
Holds the windshield glass, side window glass and back door window glass |

Always Replace with New Parts
| Never Reuse These Parts | Part Code | For additional information: |
|---|---|---|
| Spacer | 72714 | WINDSHIELD GLASS EXPLODED VIEW |
| Spacer | 72714+A | WINDSHIELD GLASS EXPLODED VIEW |
| Spacer | 72714+B | WINDSHIELD GLASS EXPLODED VIEW |
| Spacer | 90815R | BACK DOOR WINDOW GLASS EXPLODED VIEW |
| Seal | 90714 | BACK DOOR WINDOW GLASS EXPLODED VIEW |
Other materials:
Laser Branch Line Circuit
Diagnosis Procedure
CHECK CONNECTOR
Turn the ignition switch OFF.
Disconnect the battery cable from the negative terminal.
Check the following terminals and connectors for damage, bend and loose connection (unit side and connector side).
Distance sensor
Harness connector B2 ...
Remplacement des roues et des pneus
Permutation des pneus
NISSAN recommande de permuter régulièrement les pneus du Nissan Rogue selon les intervalles indiqués dans le programme d’entretien officiel afin d’assurer une usure uniforme, une meilleure longévité des pneus et un comportement routier optimal.
(Reportez-vo ...
Removal and Installation. Rear Power Window Switch
Removal and Installation
CAUTION:
Never bend the fixing pawl of power window switch finisher.
REMOVALRemove power window switch finisher. Refer to Removal and Installation.
Remove rear power window switch from power window switch finisher .
: Pawl
INSTALLATIONInstall in the reverse ...