Nissan Rogue (T33) 2021-Present Service Manual: Automatic Air Conditioning :: Removal and Installation
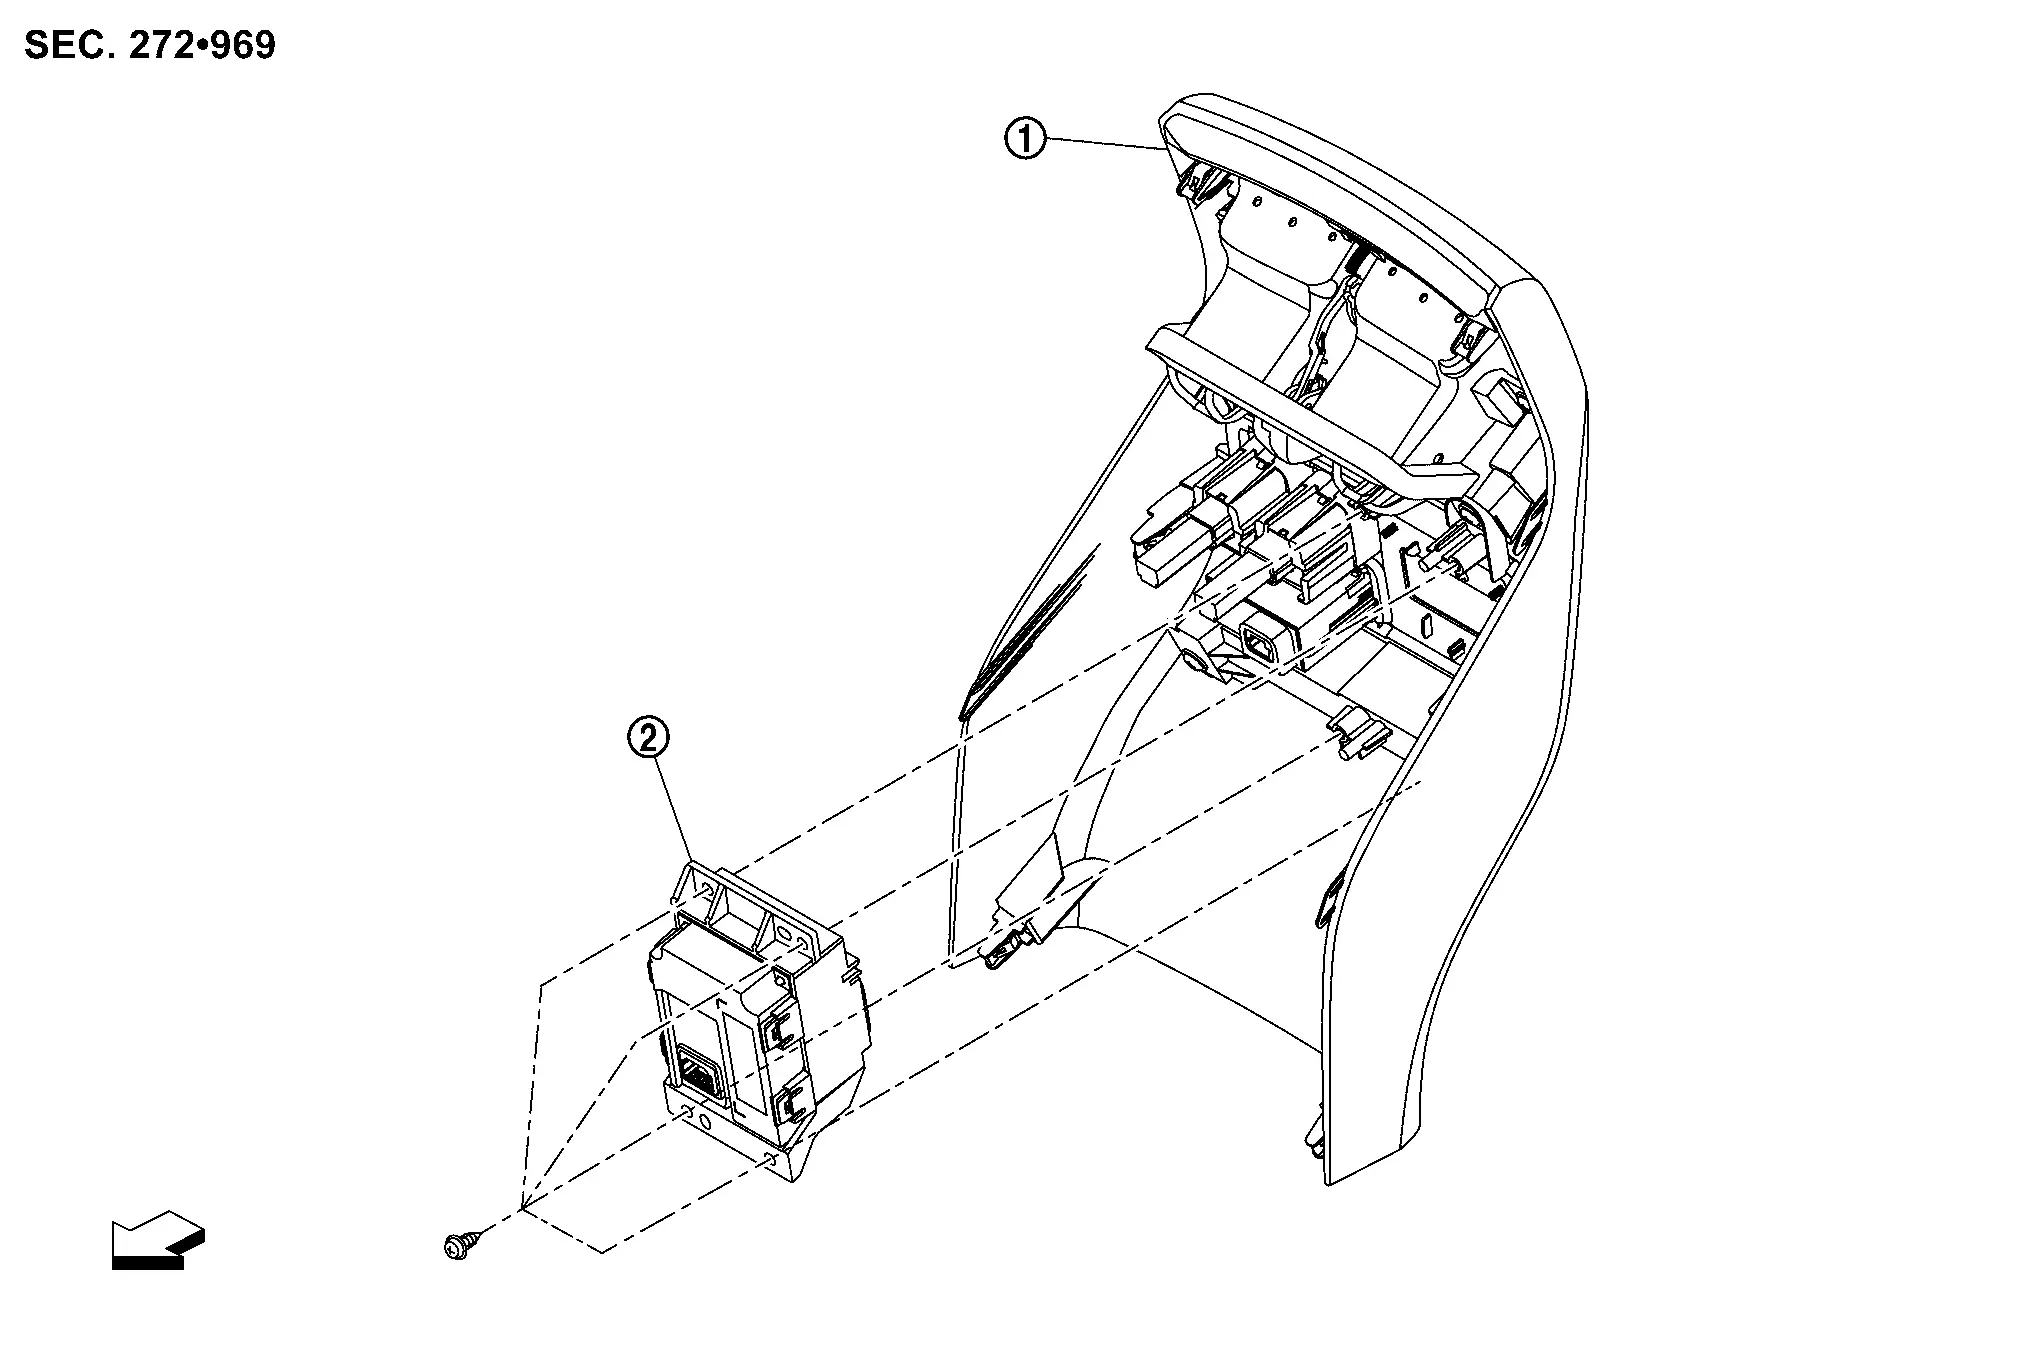
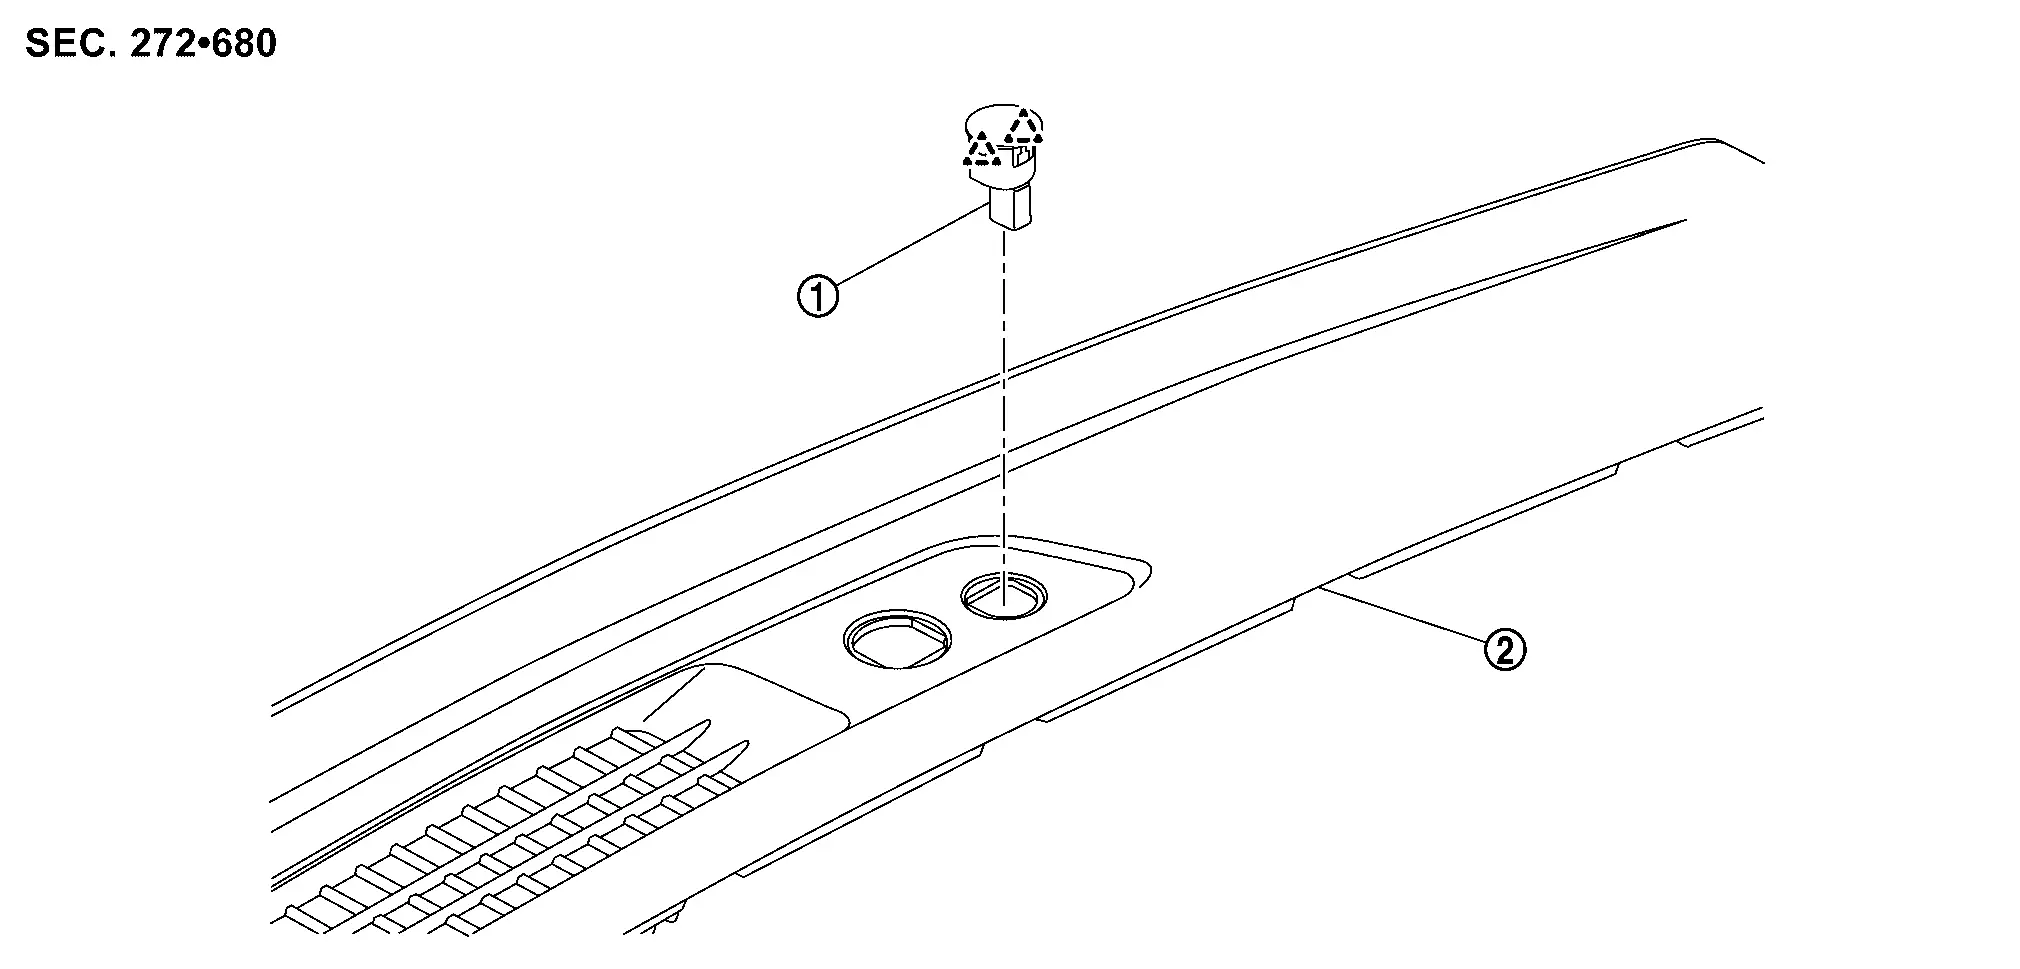
A/c Switch Assembly
Exploded View
 |
A/C switch assembly |  |
Center ventilator finisher | ||
 |
: Pawl | ||||
| : Nissan Ariya Vehicle front | |||||
Removal and Installation
REMOVAL
Remove center ventilator finisher. Refer to Removal and Installation.
Remove A/C switch assembly fixing screws  .
.
Disengage fixing pawls, and then remove A/C switch assembly.
|
: Pawl |
INSTALLATION
Install in the reverse order of removal.
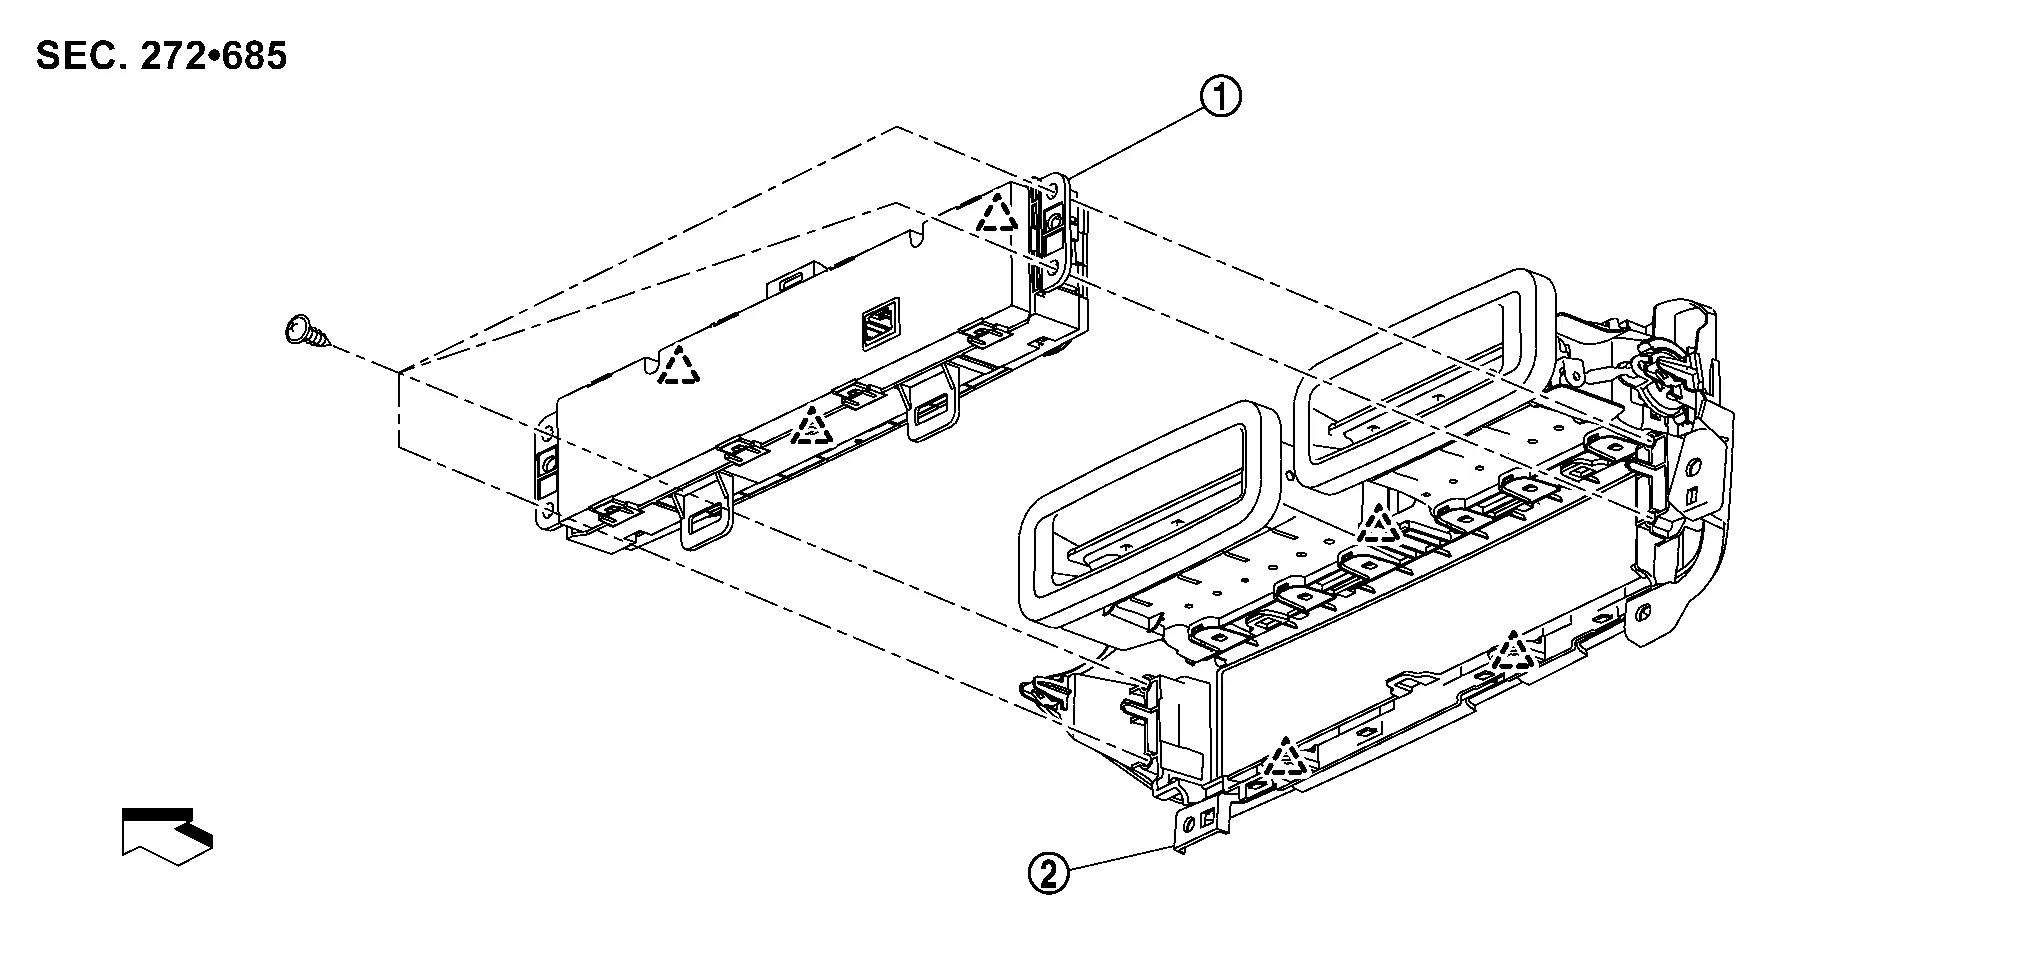
Rear Air Control
Exploded View
|
Console rear finisher | |
Rear air control | ||
| : Nissan Ariya Vehicle front | |||||
Removal and Installation
REMOVAL
Remove console rear finisher. Refer to Removal and Installation.
Remove fixing screws , and then remove rear air control.
INSTALLATION
Install in the reverse order of removal.
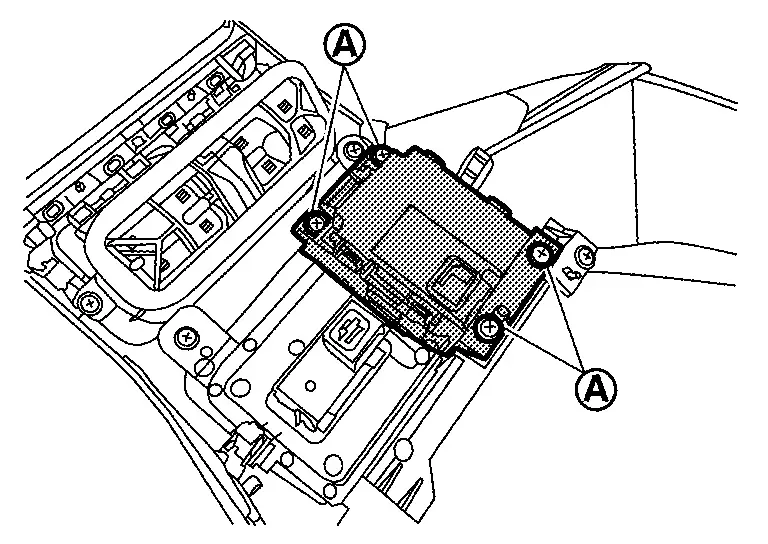
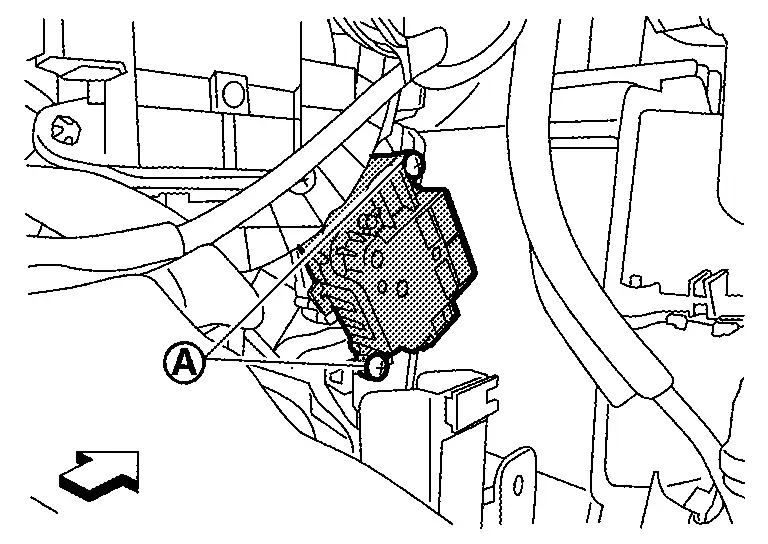
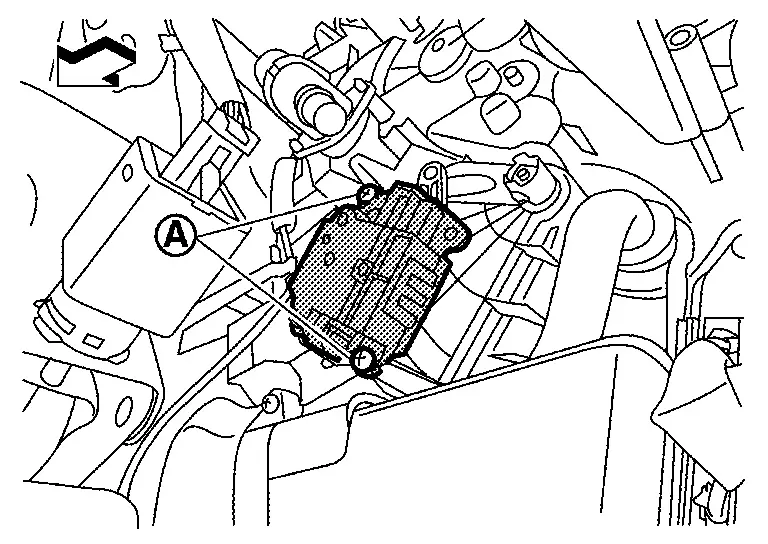
A/c Amp.
Exploded View
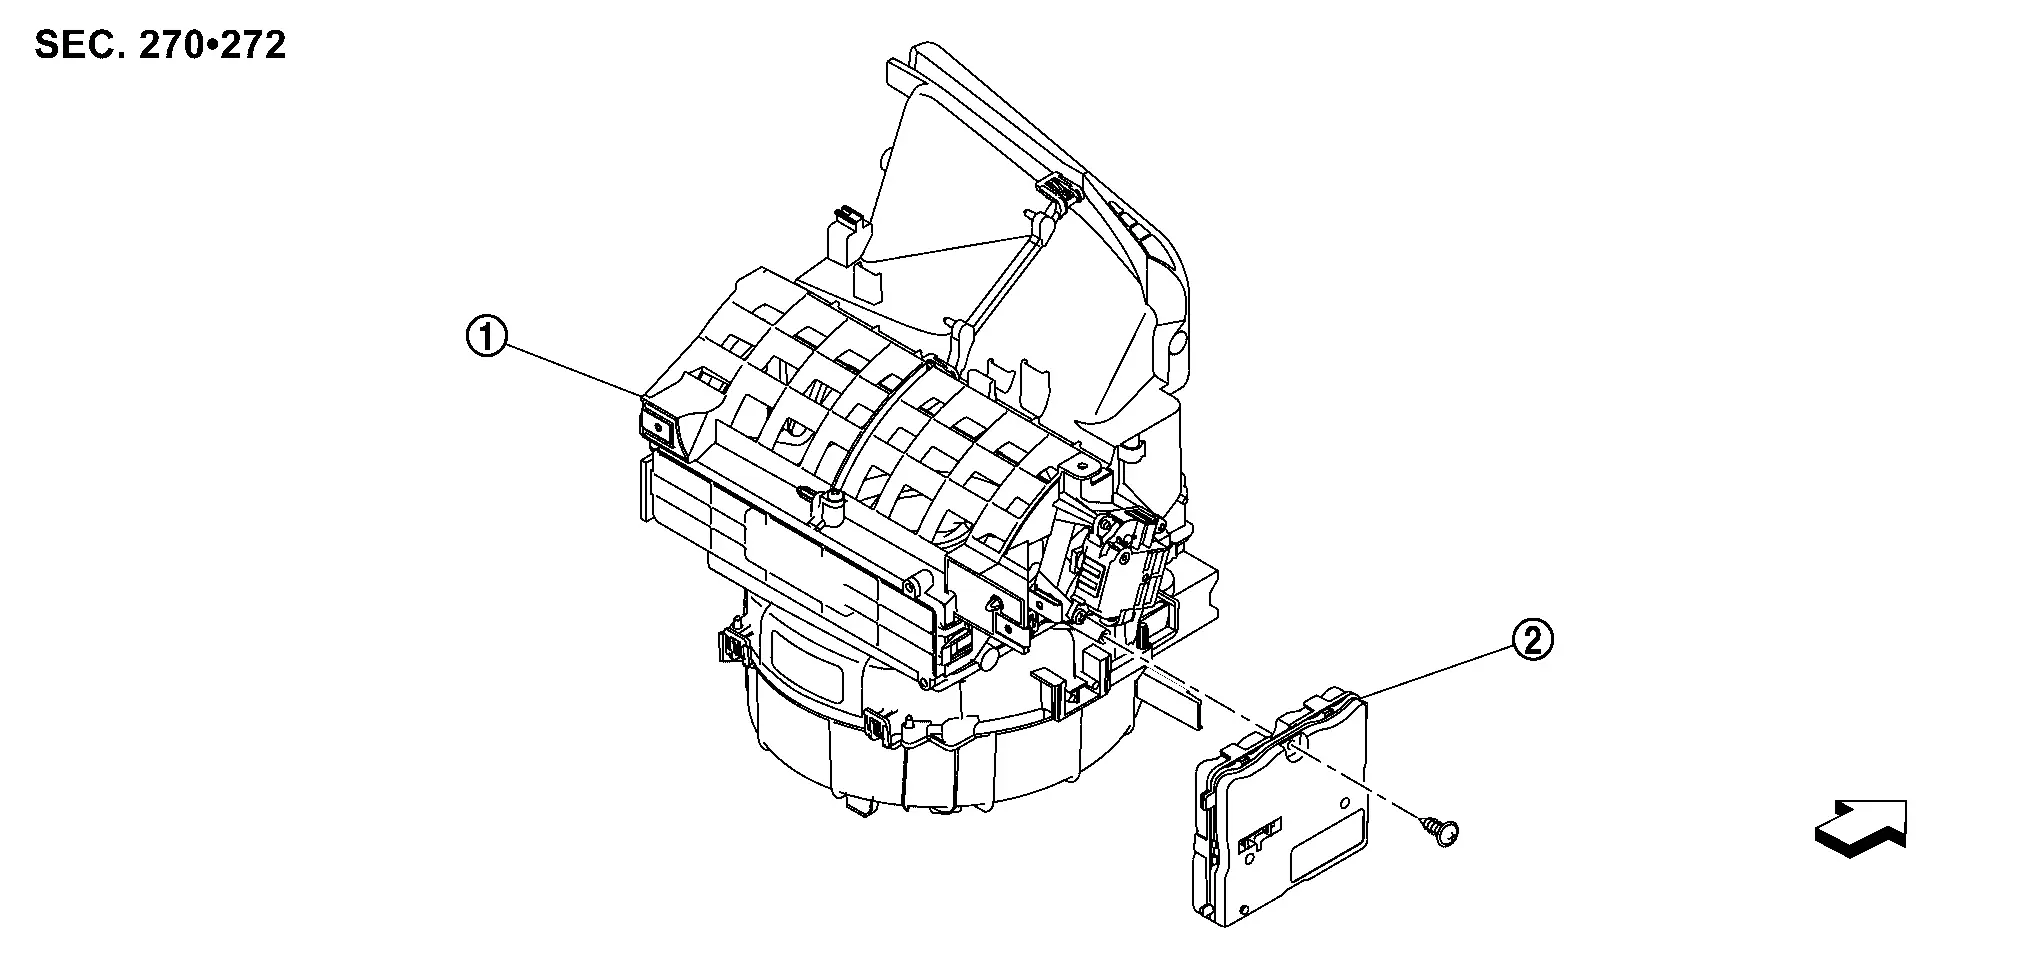
|
Blower unit | |
A/C amp. | ||
| : Nissan Ariya Vehicle front | |||||
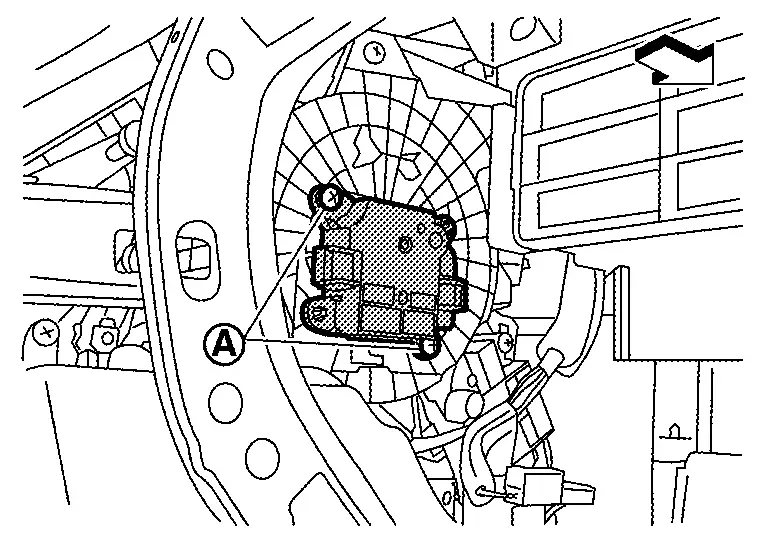
Removal and Installation
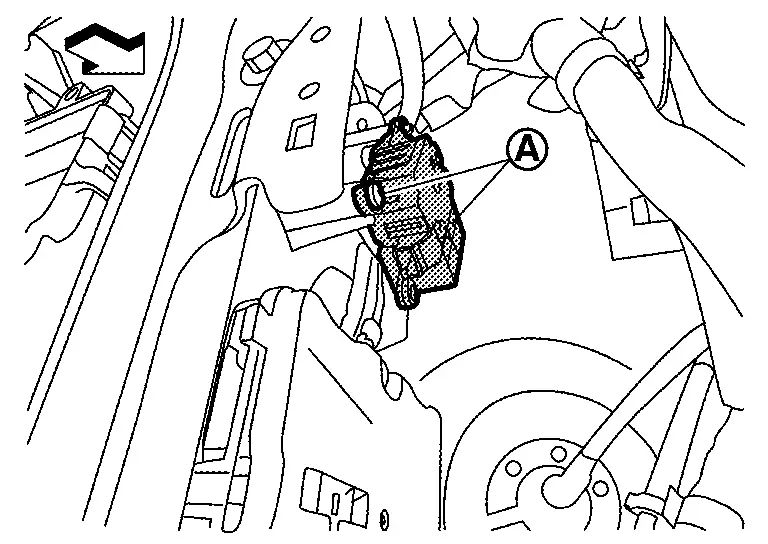
REMOVAL
Remove glove box. Refer to Removal and Installation.
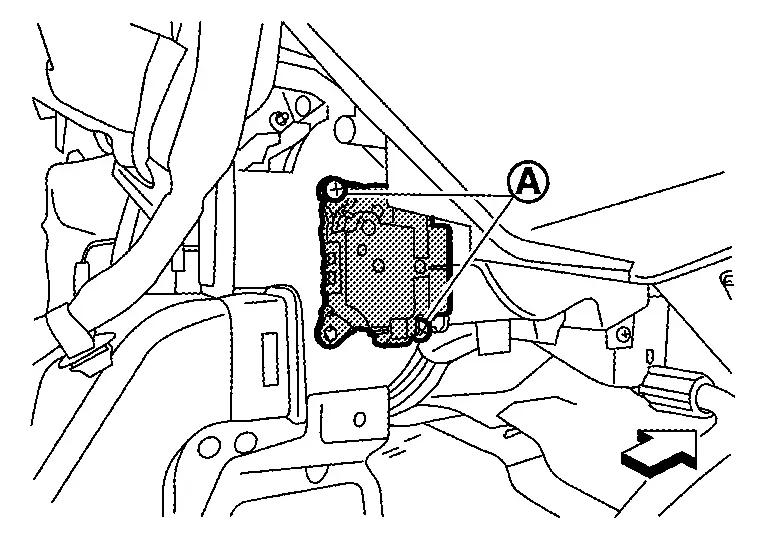
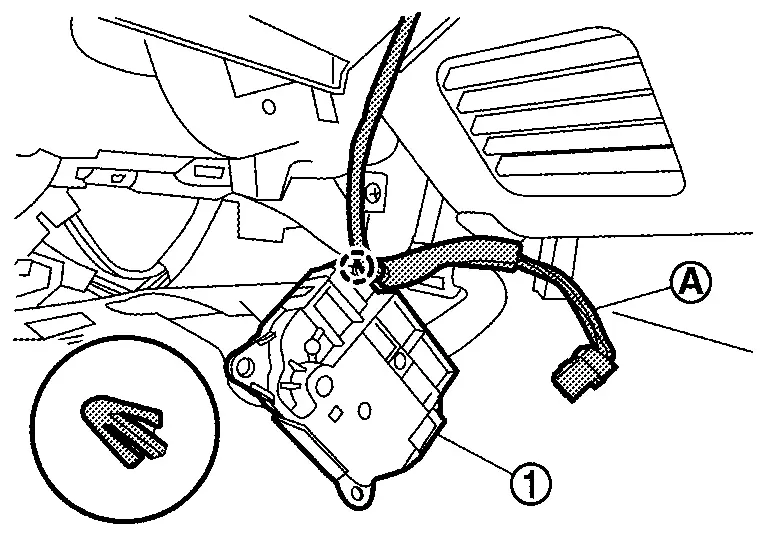
Disconnect A/C amp. harness connectors .
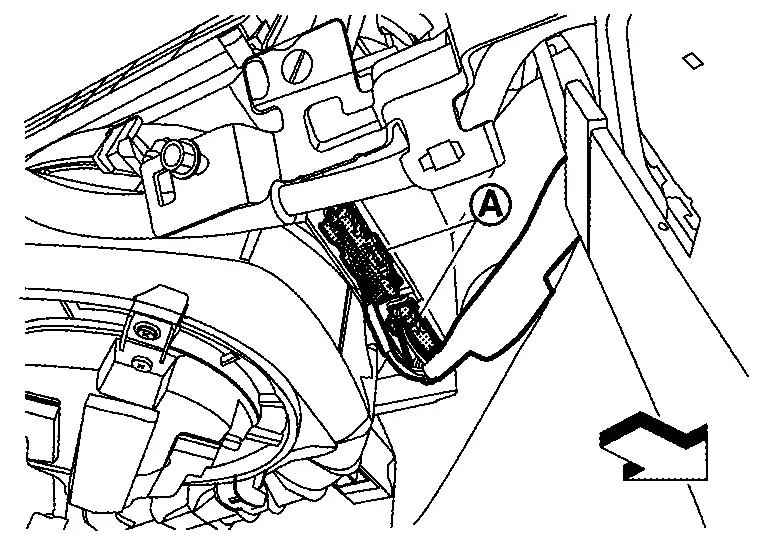
| : Nissan Ariya Vehicle front |
Remove fixing screw , and then slide A/C amp. in the direction indicated by arrow as shown in the figure and remove it.
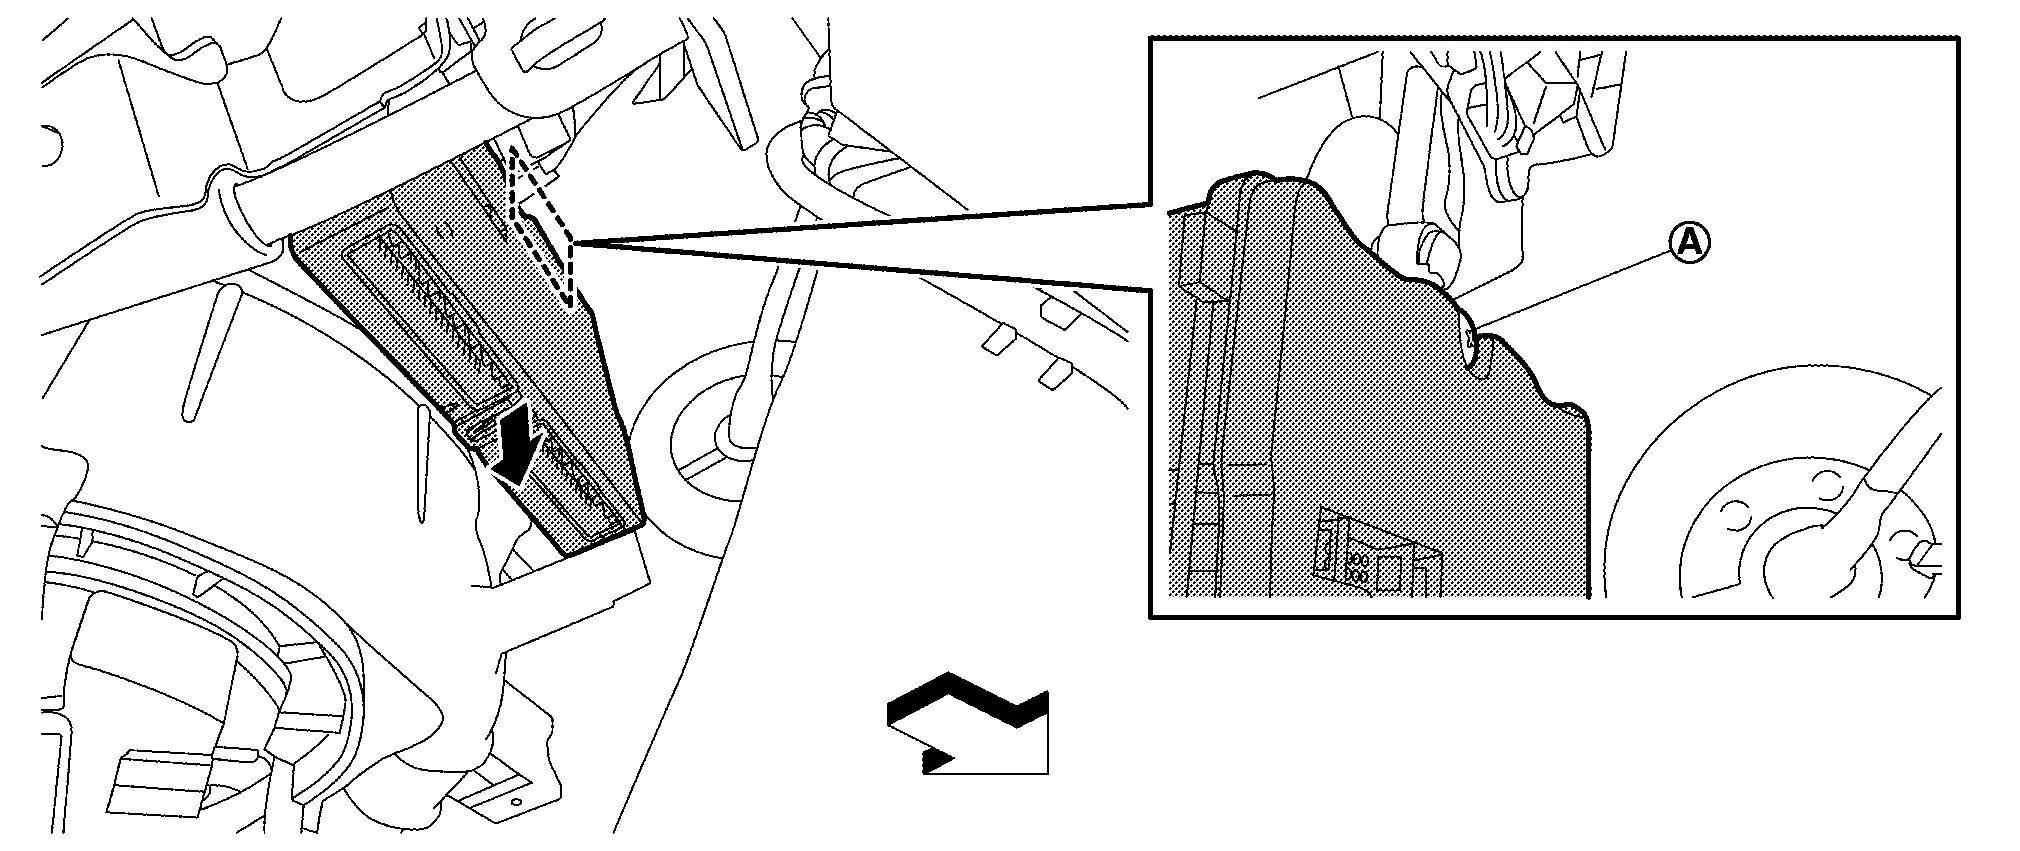
| : Nissan Ariya Vehicle front |
INSTALLATION
Note the following item, and then install in the reverse order of removal.
CAUTION:
Be sure perform ADDITIONAL SERVICE WHEN REPLACING A/C AMP. when replacing A/C amp. Or not doing so, A/C amp. control function does not operate normally. Refer to Description.
In-Vehicle Sensor
Exploded View
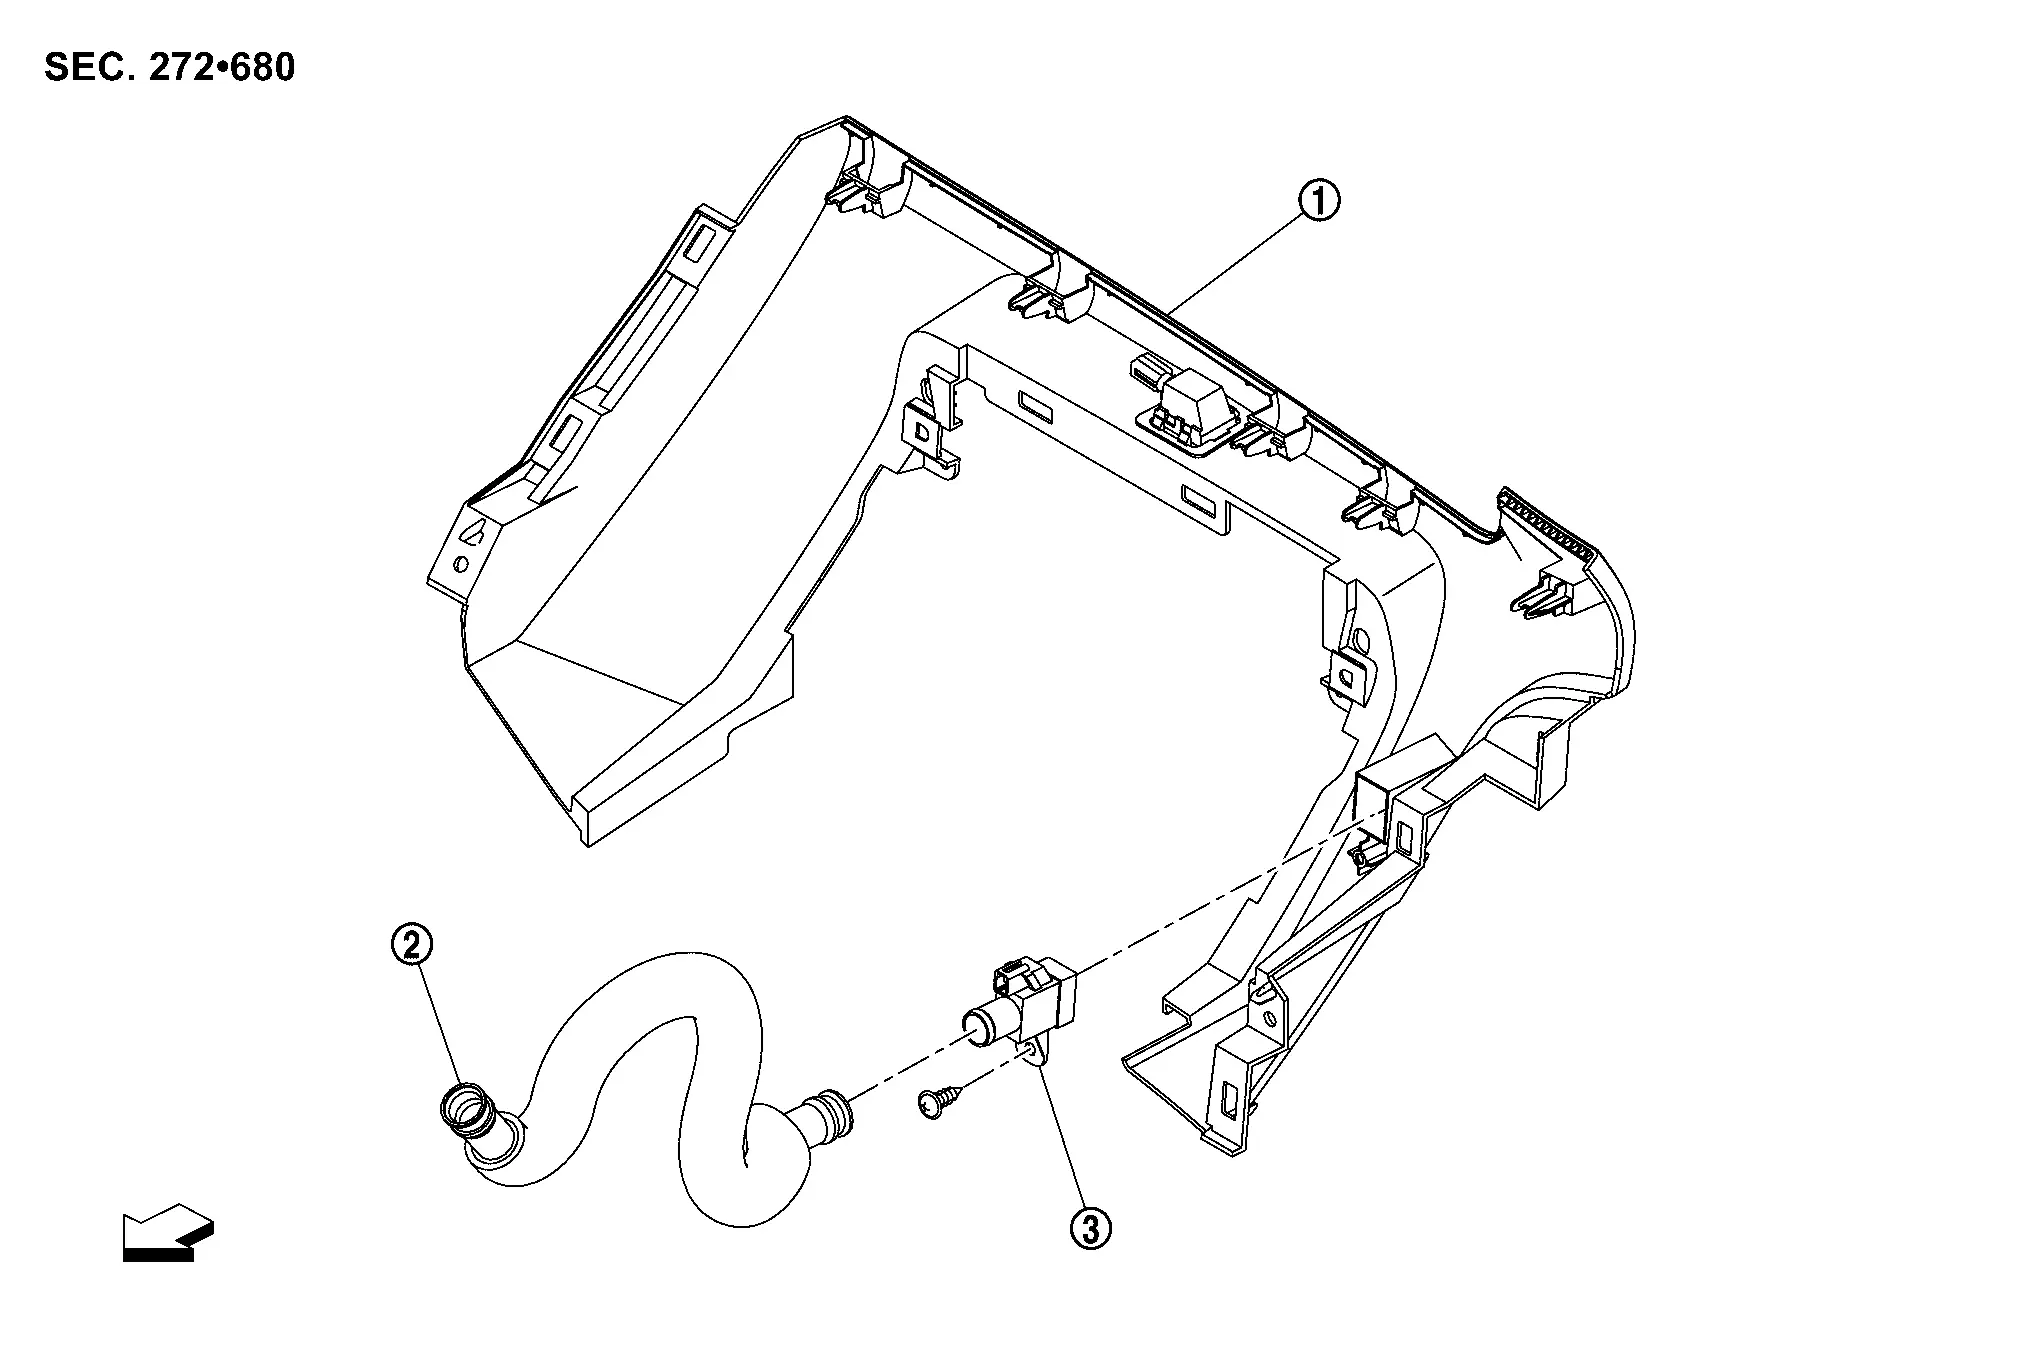
|
Instrument lower panel center | |
Aspirator duct |  |
In-Nissan Ariya vehicle sensor |
| : Nissan Ariya Vehicle front | |||||
Removal and Installation
REMOVAL
Remove instrument lower panel center. Refer to Removal and Installation.
Remove fixing screw , and then remove in-Nissan Ariya vehicle sensor.
INSTALLATION
Install in the reverse order of removal.
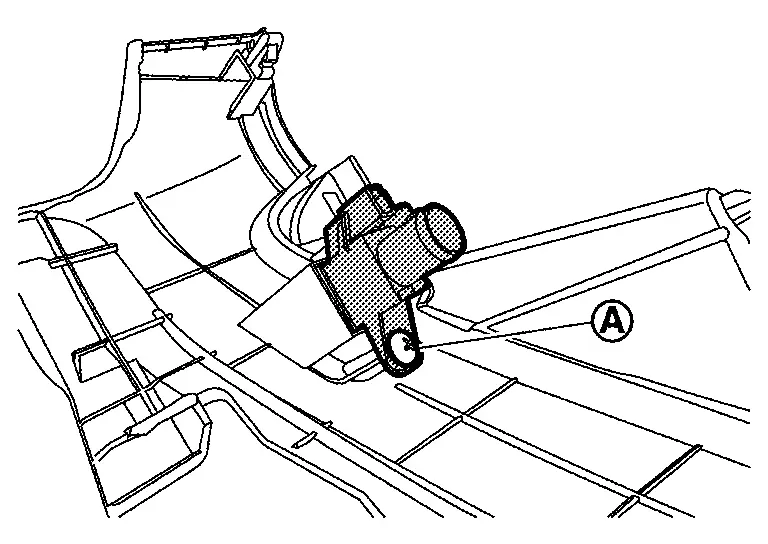
Sunload Sensor
Exploded View
|
Sunload sensor | |
Instrument garnish | ||
|
: Pawl | ||||
Removal and Installation
REMOVAL
Apply protective tape (A) on instrument garnish to protect from damage.
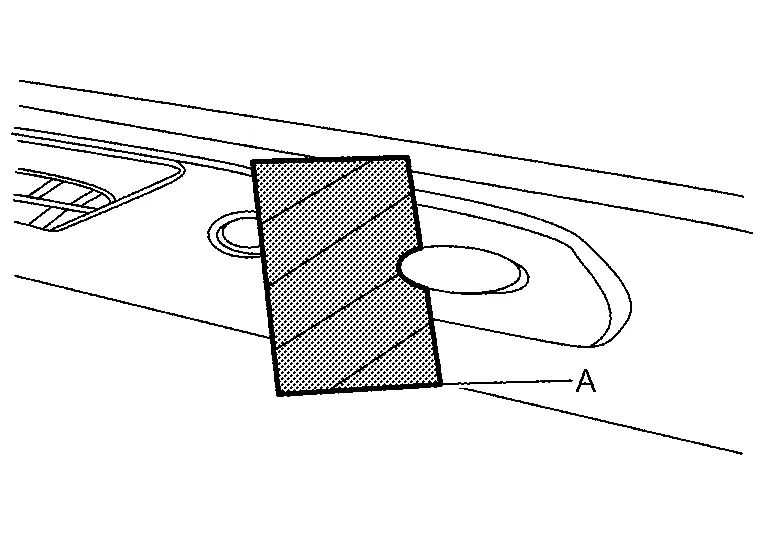
Disengage fixing pawls using a remover tool (A), and then pull up sunload sensor.
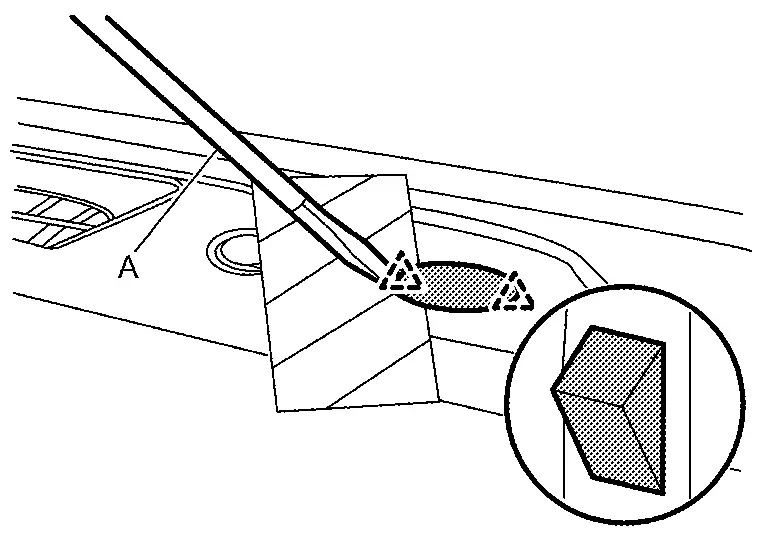
|
: Pawl |
CAUTION:
Using a remover tool wrapped in tape.
Disconnect harness connector, and then remove sunload sensor.
INSTALLATION
Install in the reverse order of removal.
Intake Sensor
Exploded View
-
KR15DDT : Refer to Exploded View.
Removal and Installation
REMOVAL
Remove evaporator.
-
KR15DDT : Refer to Removal and Installation.
Remove intake sensor from evaporator.
CAUTION:
-
Mark the mounting position of intake sensor bracket prior to removal so that the reinstalled sensor can be located in the same position.
-
Never damage the evaporator core.
INSTALLATION
Note the following item, and then install in the reverse order of removal.
CAUTION:
Never rotate the bracket insertion part when removing and installing the intake sensor.
Refrigerant Pressure Sensor
Exploded View
-
KR15DDT : Refer to Exploded View.
Removal and Installation
REMOVAL
-
KR15DDT : Refer to Removal and Installation.
INSTALLATION
Install in the reverse order of removal.
Ptc Heater
Exploded View
-
KR15DDT : Refer to Exploded View.
Removal and Installation
REMOVAL
Remove foot duct LH. Refer to Removal and Installation.
Disconnect PTC heater connector.
Remove fixing screws , and then remove PTC heater from heater & cooling unit assembly.

| : Nissan Ariya Vehicle front |
INSTALLATION
Install in the reverse order of removal.
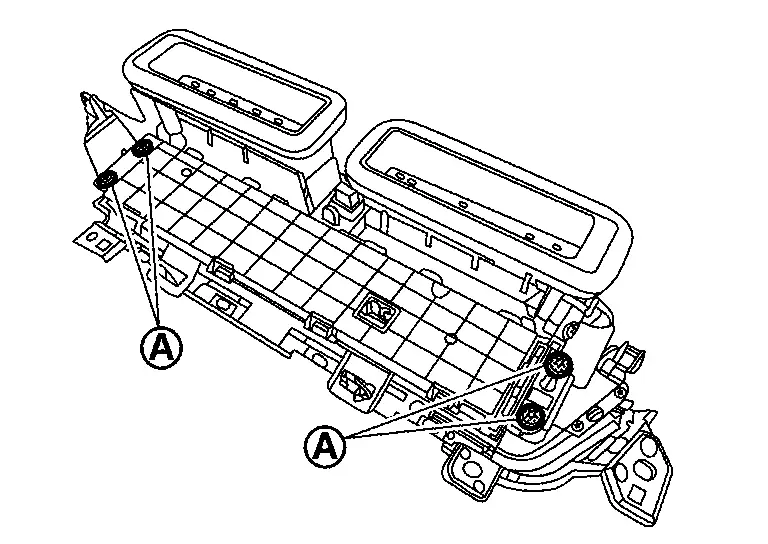
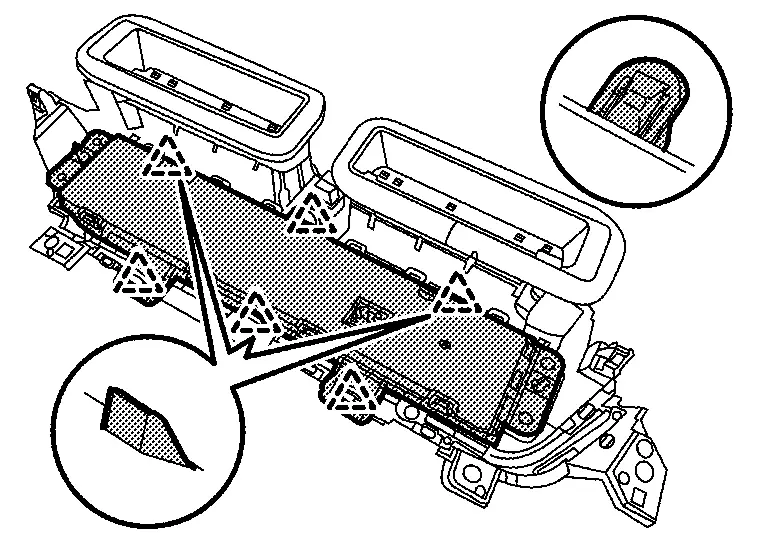
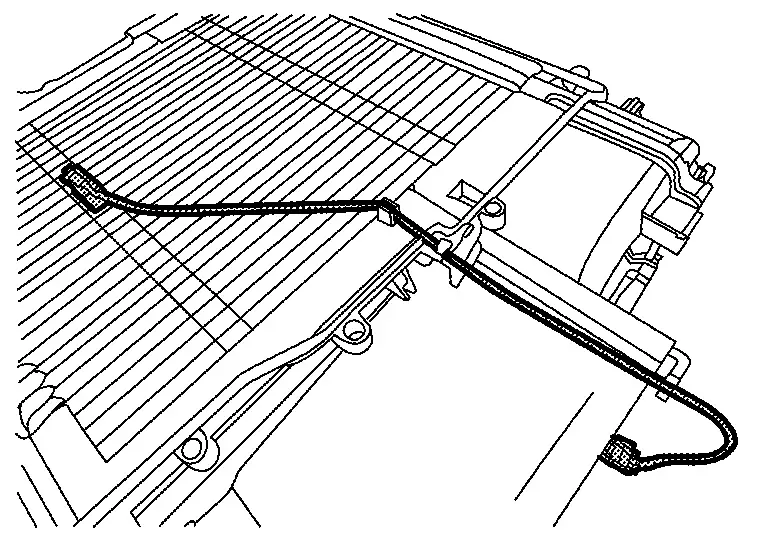
Door Motor
Exploded View
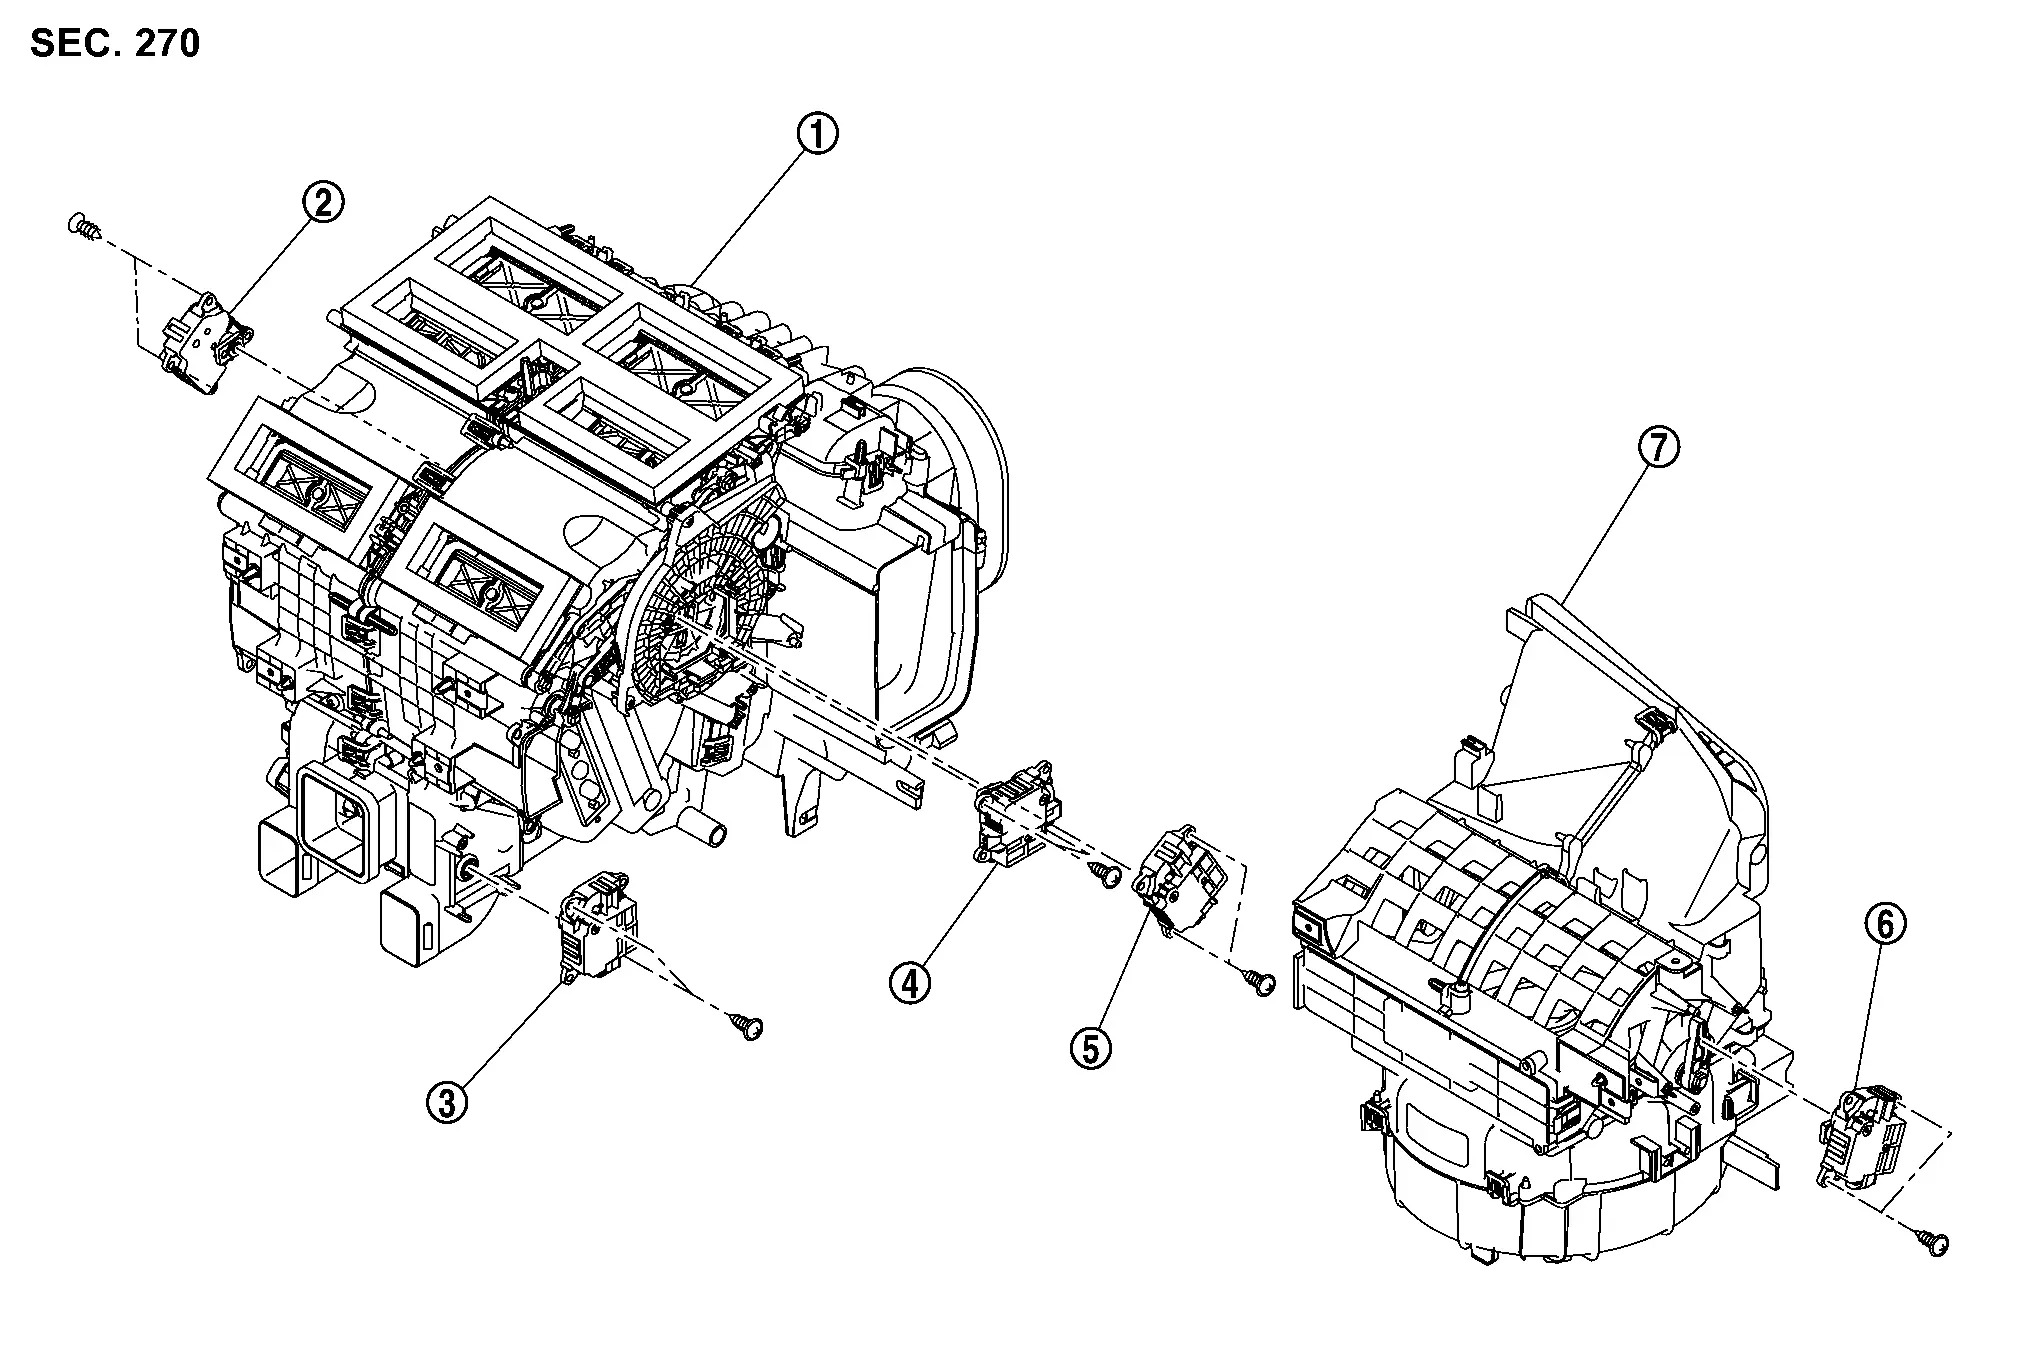
|
Heater & cooling unit assembly | |
Air mix door motor LH | |
Air mix door motor (rear) |
 |
Mode door motor |  |
Air mix door motor RH |  |
Intake door motor |
 |
Blower unit |
Air Mix Door Motor
Removal and Installation
REMOVAL
Air Mix Door Motor RH
Remove TCU. Refer to Removal & Installation.
Disconnect air mix door motor RH harness connector.
Remove fixing screws , and then remove air mix door motor RH.
| : Nissan Ariya Vehicle front |
Air Mix Door Motor LH
Remove foot duct LH. Refer to Removal and Installation.
Disconnect air mix door motor LH harness connector.
Remove fixing screws , and then remove air mix door motor LH.
| : Nissan Ariya Vehicle front |
Air Mix Door Motor (Rear)
Remove center console assembly. Refer to Removal and Installation.
Remove fixing screws , and then remove air mix door motor (rear).
| : Nissan Ariya Vehicle front |
Disengage harness fixing clip of air mix door motor (rear) harness from air mix door motor (rear) .
 |
: Clip | ||||
INSTALLATION
Install in the reverse order of removal.
Intake Door Motor
Removal and Installation
REMOVAL
Remove glove box. Refer to Removal and Installation.
Disconnect intake door motor harness connector.
Remove fixing screws , and then remove intake door motor.
| : Nissan Ariya Vehicle front |
INSTALLATION
Install in the reverse order of removal.
Mode Door Motor
Removal and Installation
REMOVAL
Remove TCU. Refer to Removal & Installation.
Disconnect mode door motor harness connector.
Remove fixing screws , and then remove mode door motor.
| : Nissan Ariya Vehicle front |
INSTALLATION
Install in the reverse order of removal.
Other materials:
Fonctionnement du système
Capteurs sonar centraux
Capteurs sonar d’angle
Capteurs sonar latéraux (si le véhicule en est équipé)
Le système informe le conducteur par des alertes visuelles et sonores de la présence :
D’obstacles situés à l’avant lorsque le levier de vitesses est en position D (c ...
P00fe Evap Control System
DTC Description
This diagnosis detects clogs in the EVAP line between fuel tank and EVAP canister purge volume control solenoid valve.ECM
controls EVAP control system as below. ECM monitors EVAP line pressure
change to diagnose if there is no clogging between EVAP canister and
fuel tank.
E ...
Basic Inspection. Additional Service When Replacing Air Bag Diagnosis Sensor Unit
Description
After replaced air bag diagnosis sensor unit, it is necessary to
perform control unit configuration with CONSULT. For details, refer to
Work Procedure.
Work Procedure
REPLACE AIR BAG DIAGNOSIS SENSOR UNIT
Replace air bag diagnosis sensor unit. Refer to Removal and Installation.
...